
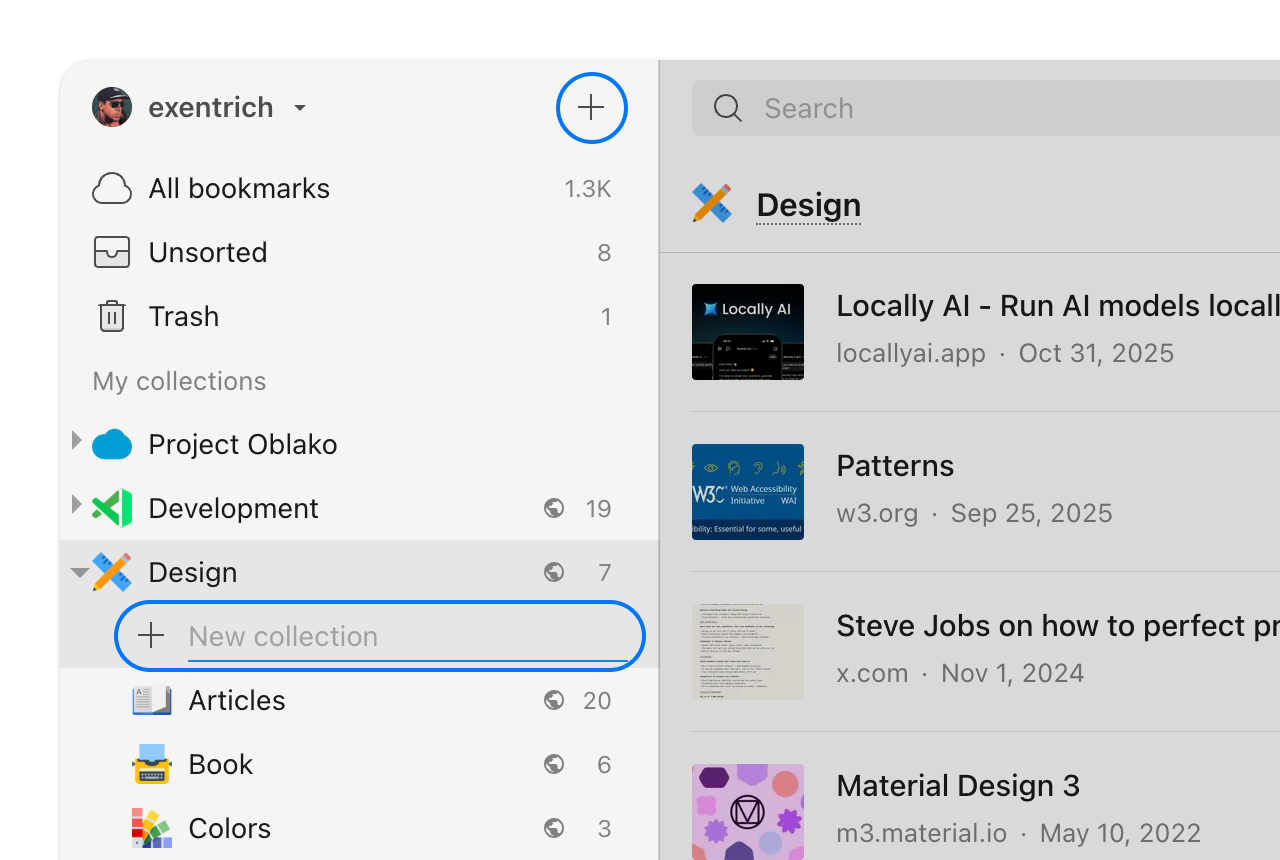
Creating a collection
- Web & Desktop
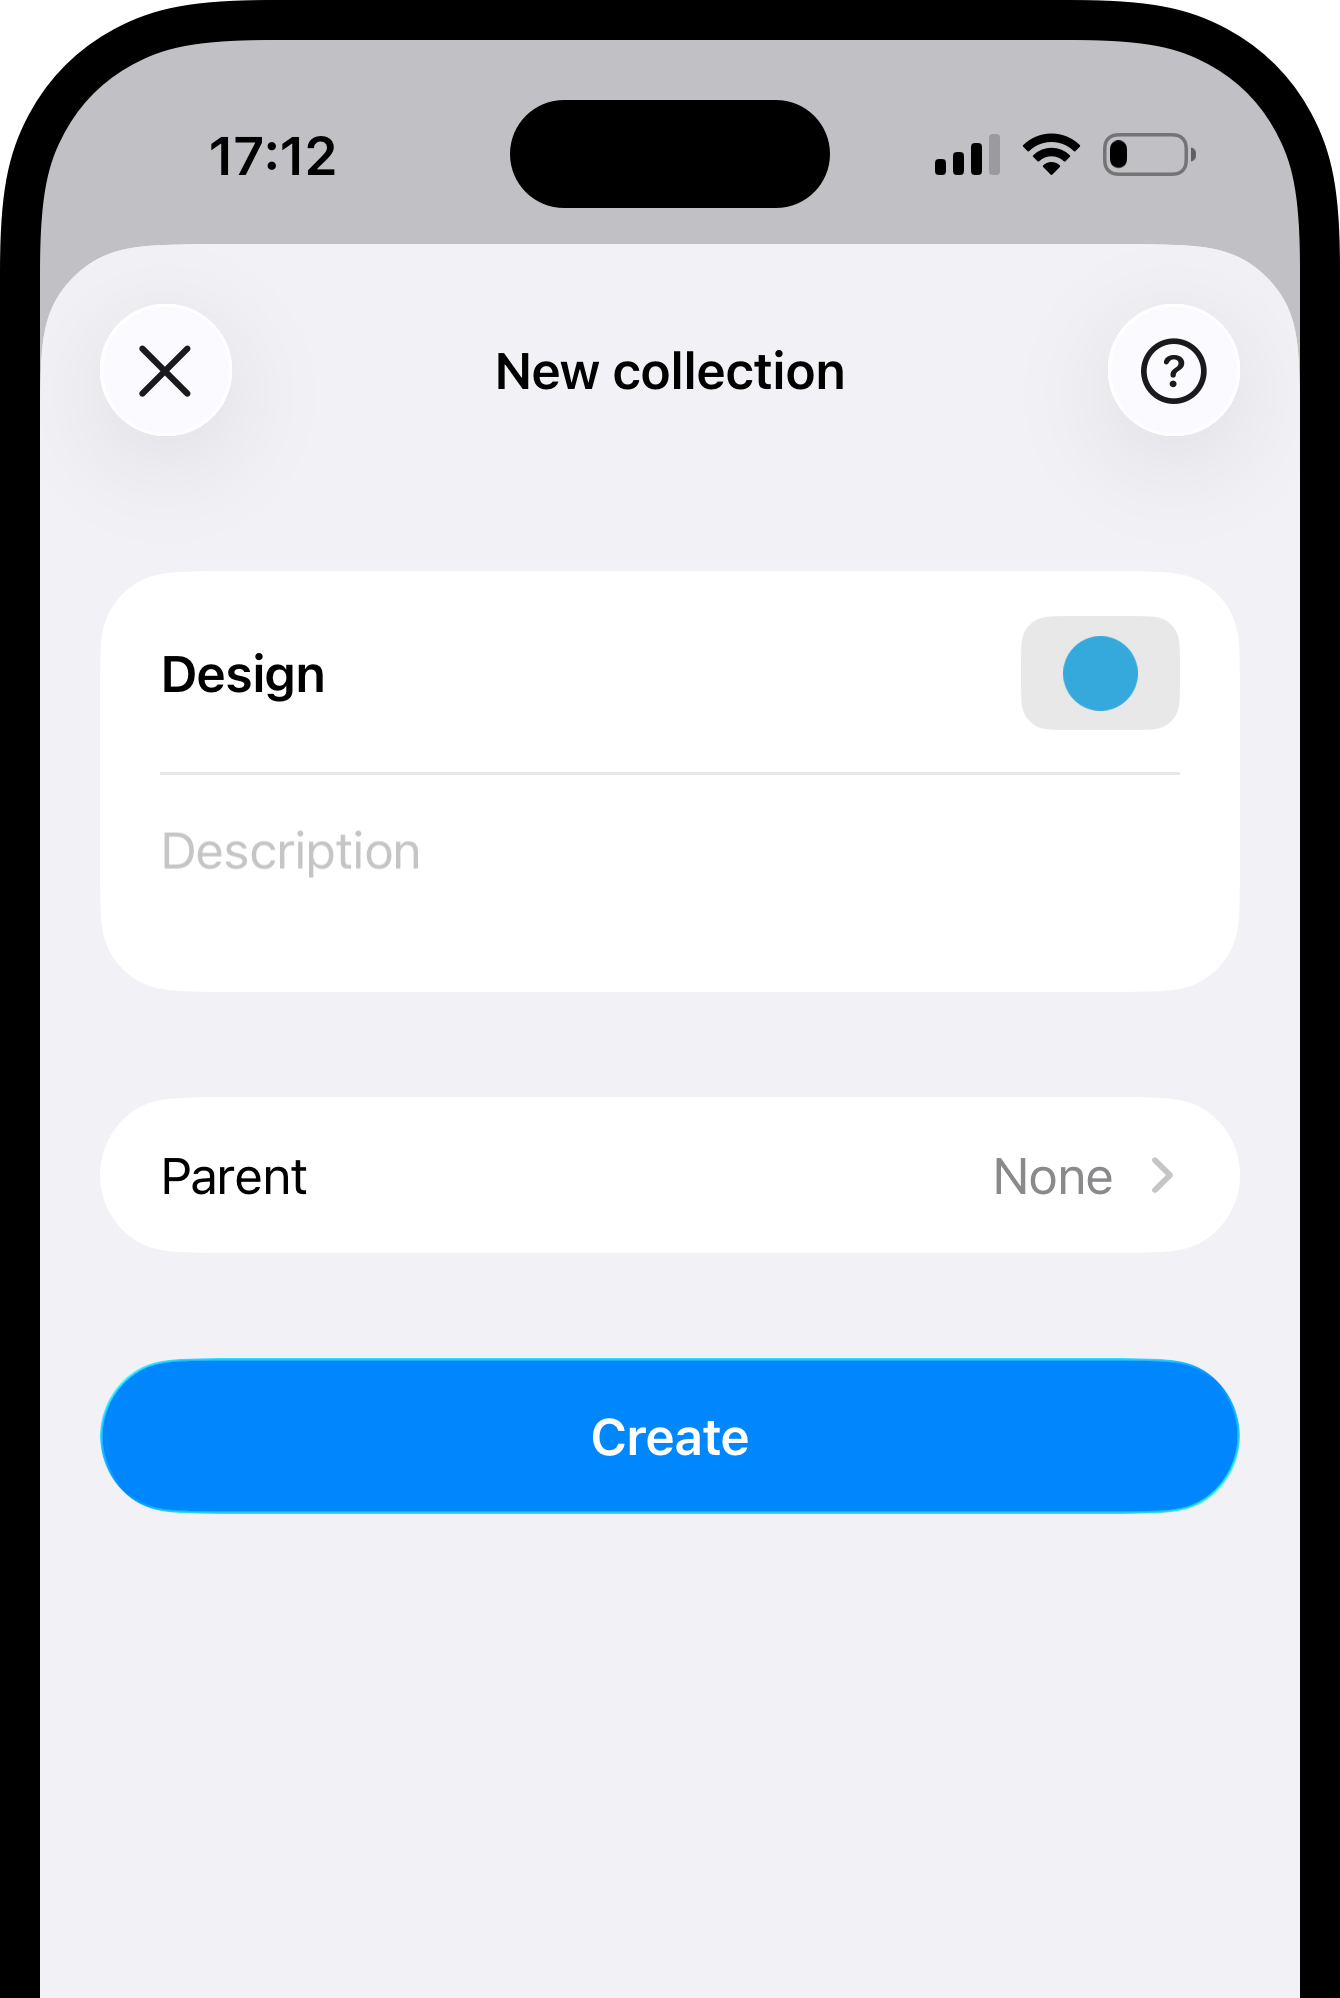
- iOS
- Android
Adding bookmarks to a collection
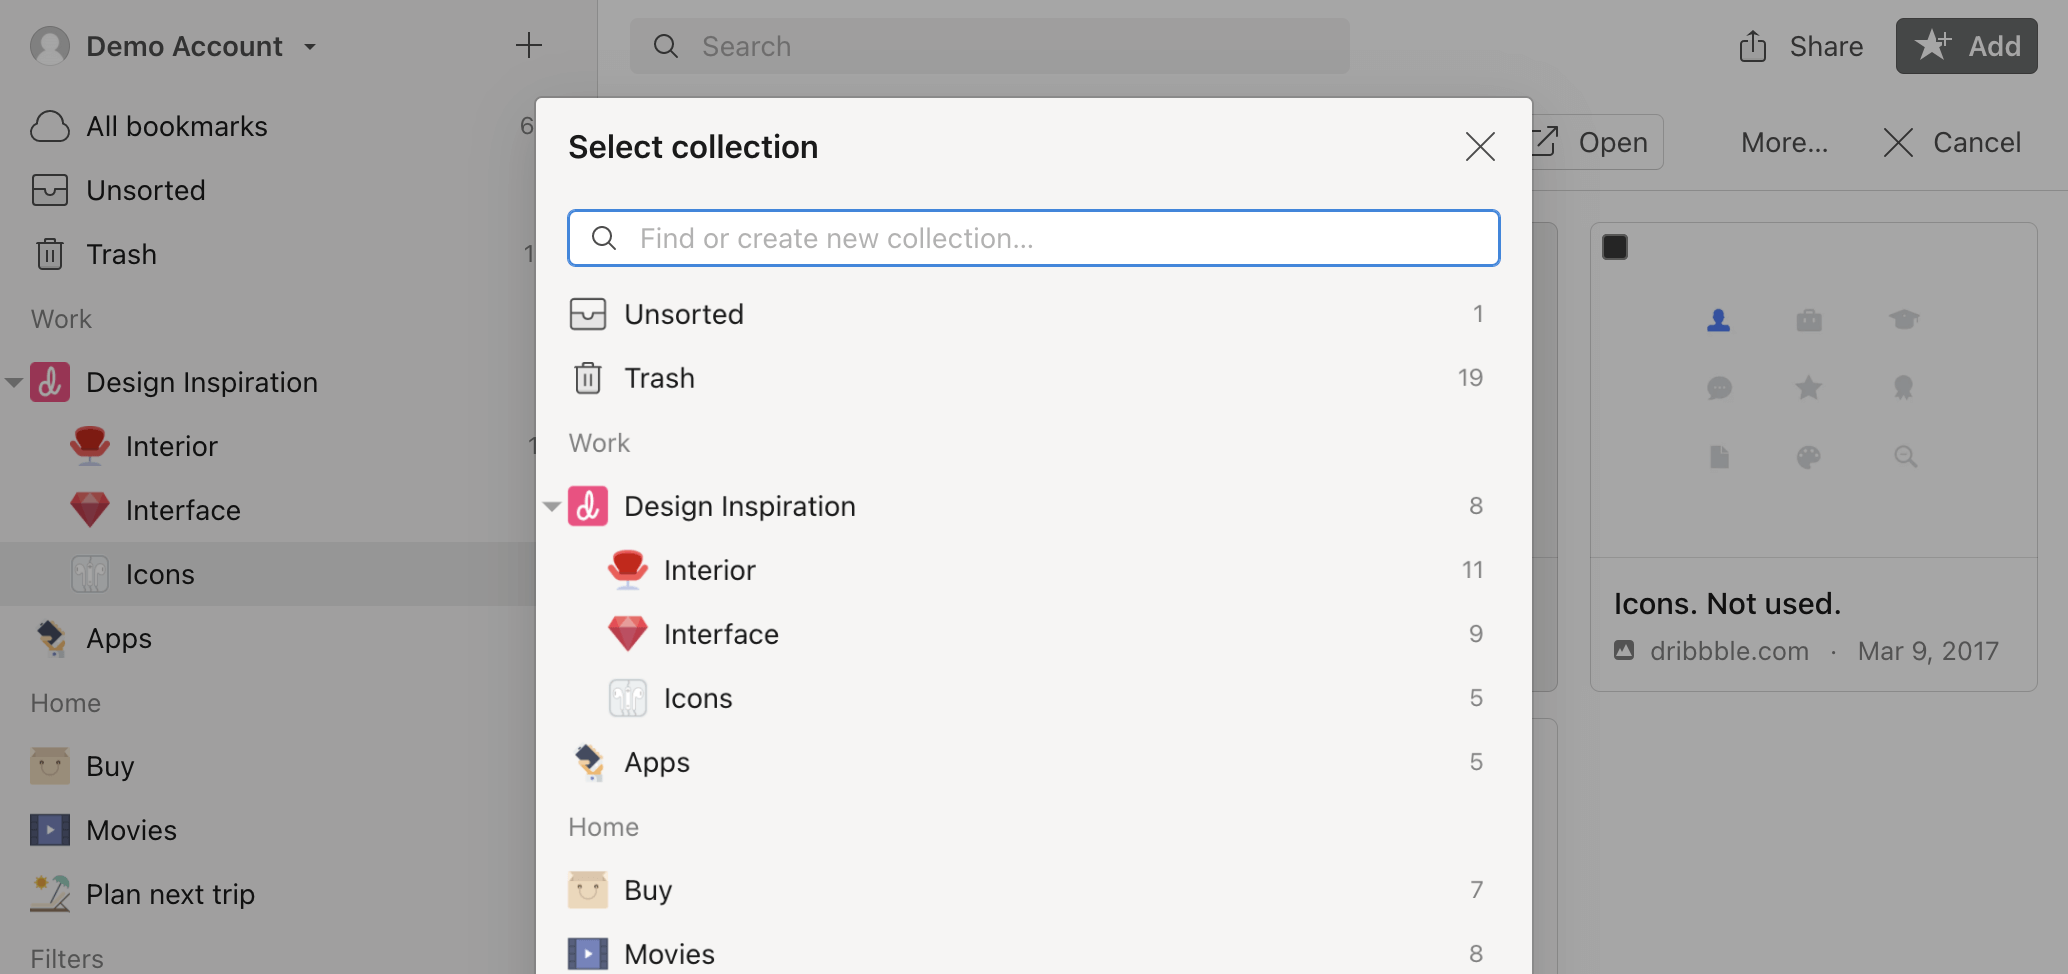
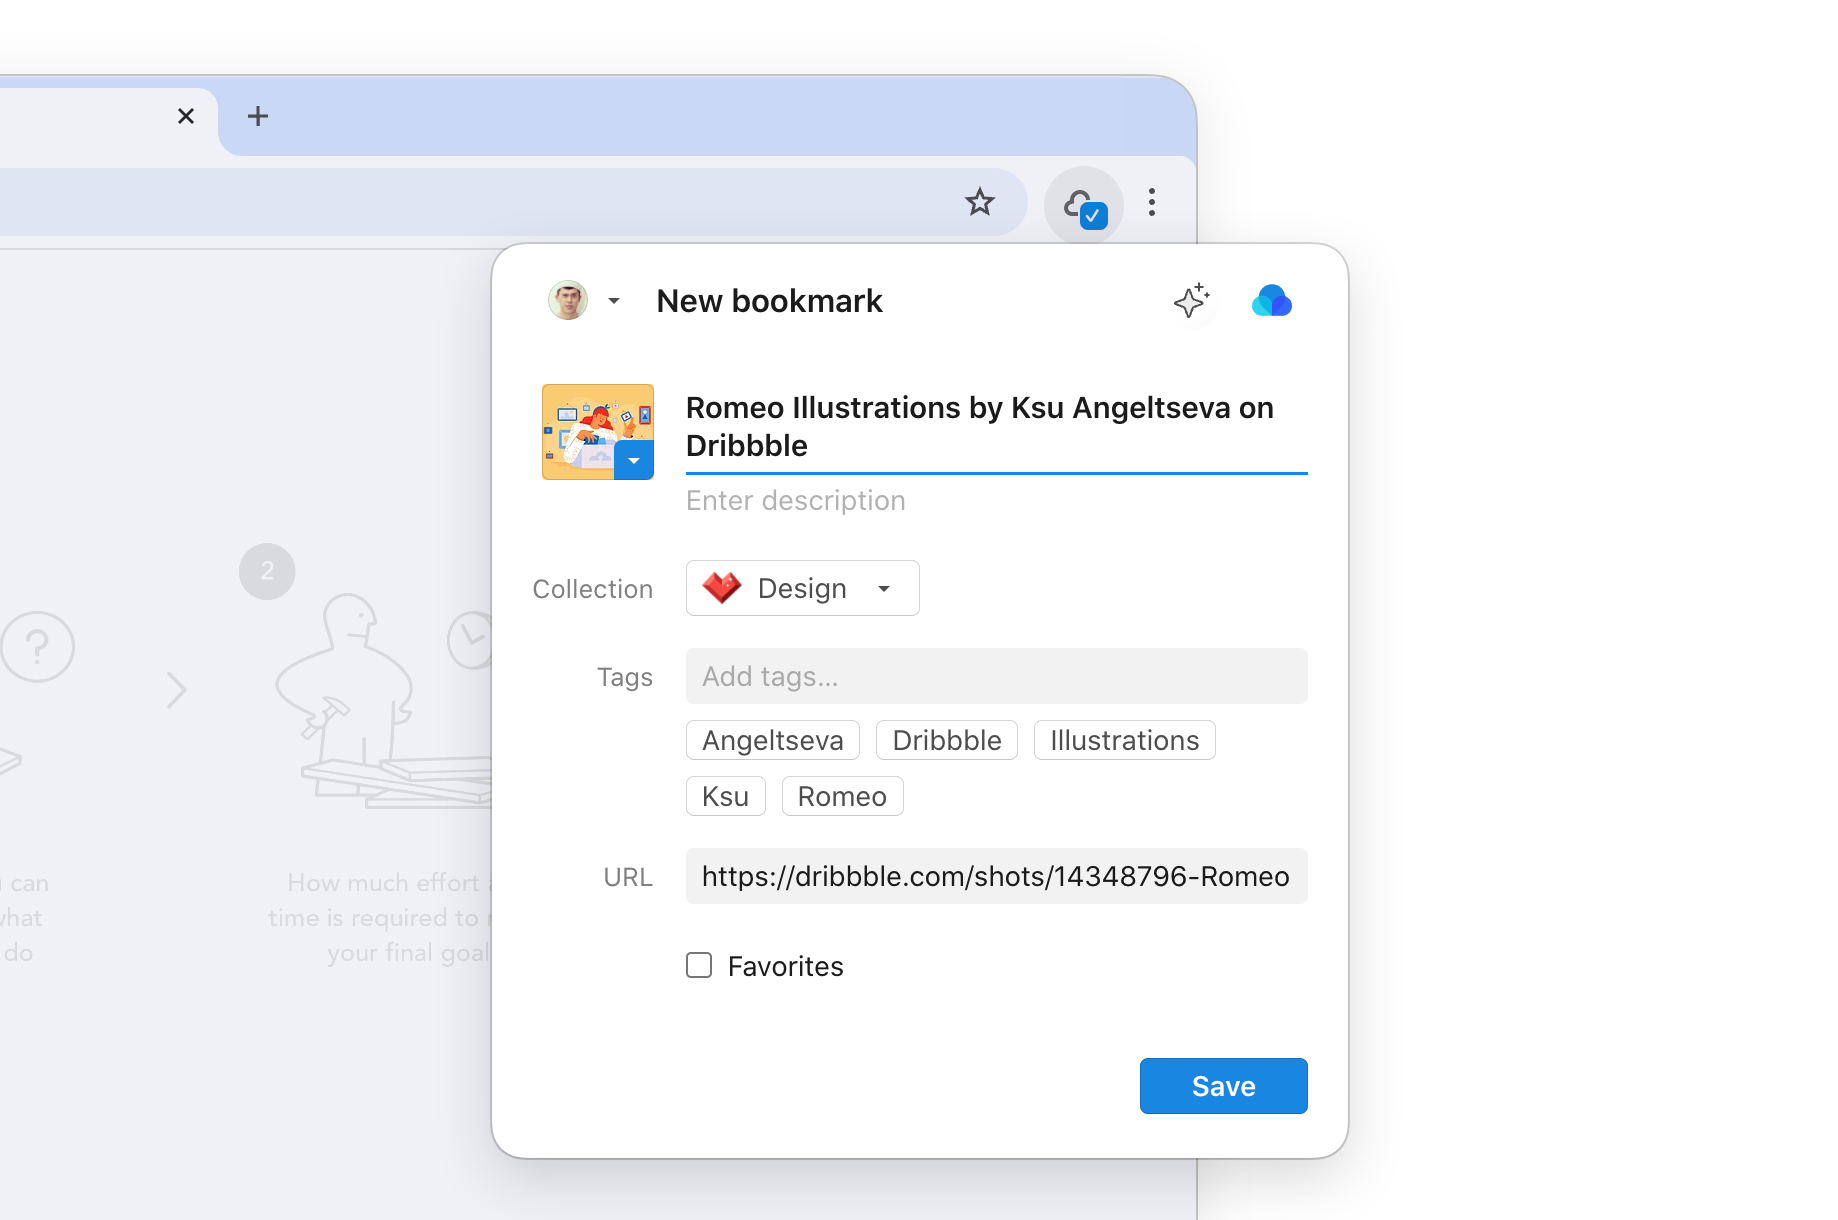
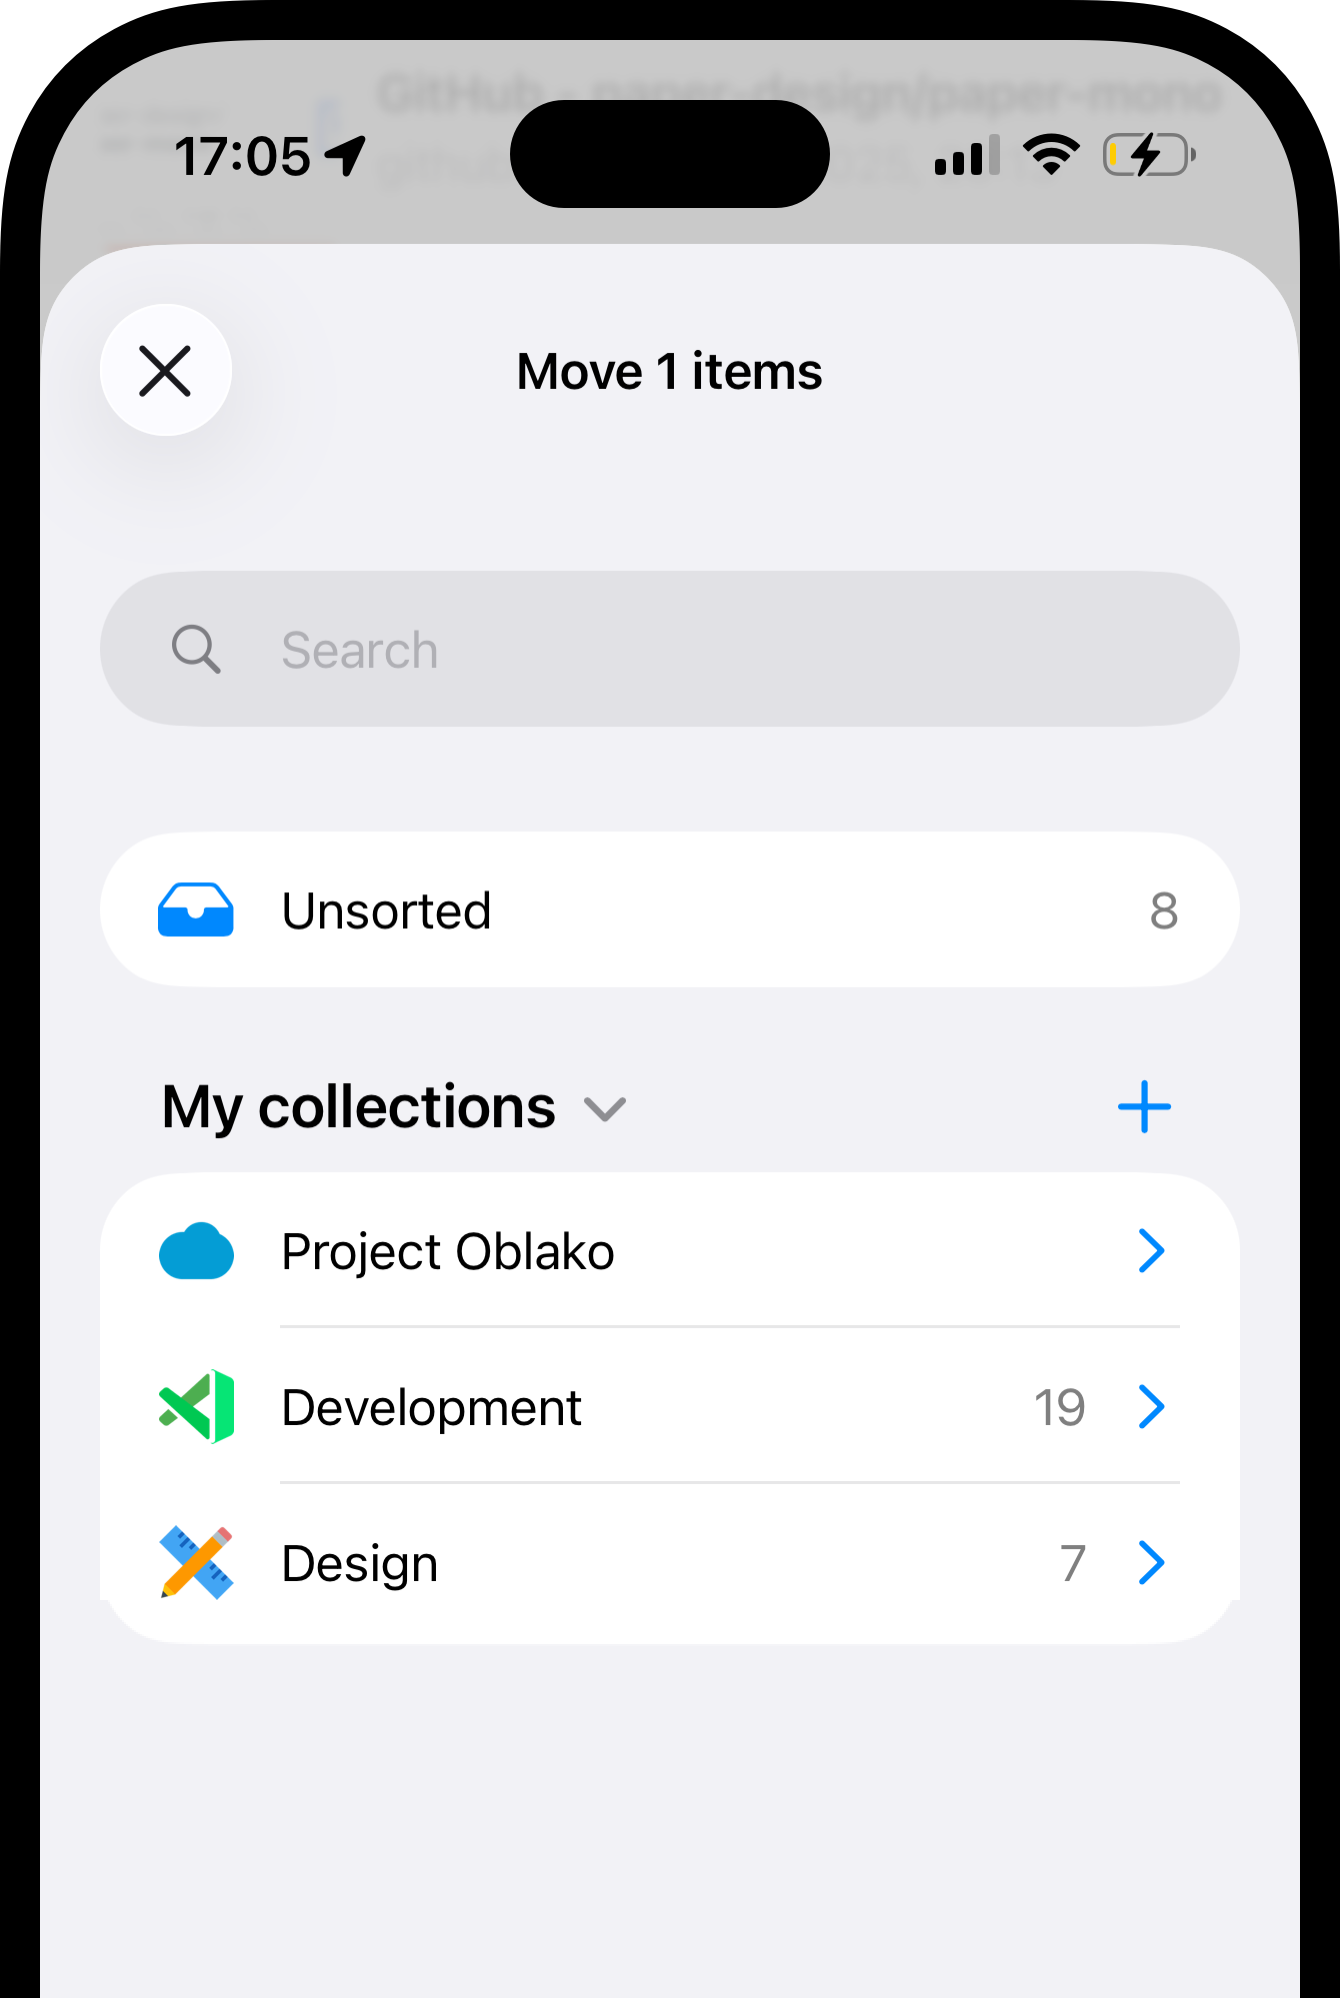
Every bookmark belongs to one collection. You pick the collection when you save a bookmark — or it goes to Unsorted by default. Already saved bookmarks can be easily moved to the right collection:- Web & Desktop
- Browser extension
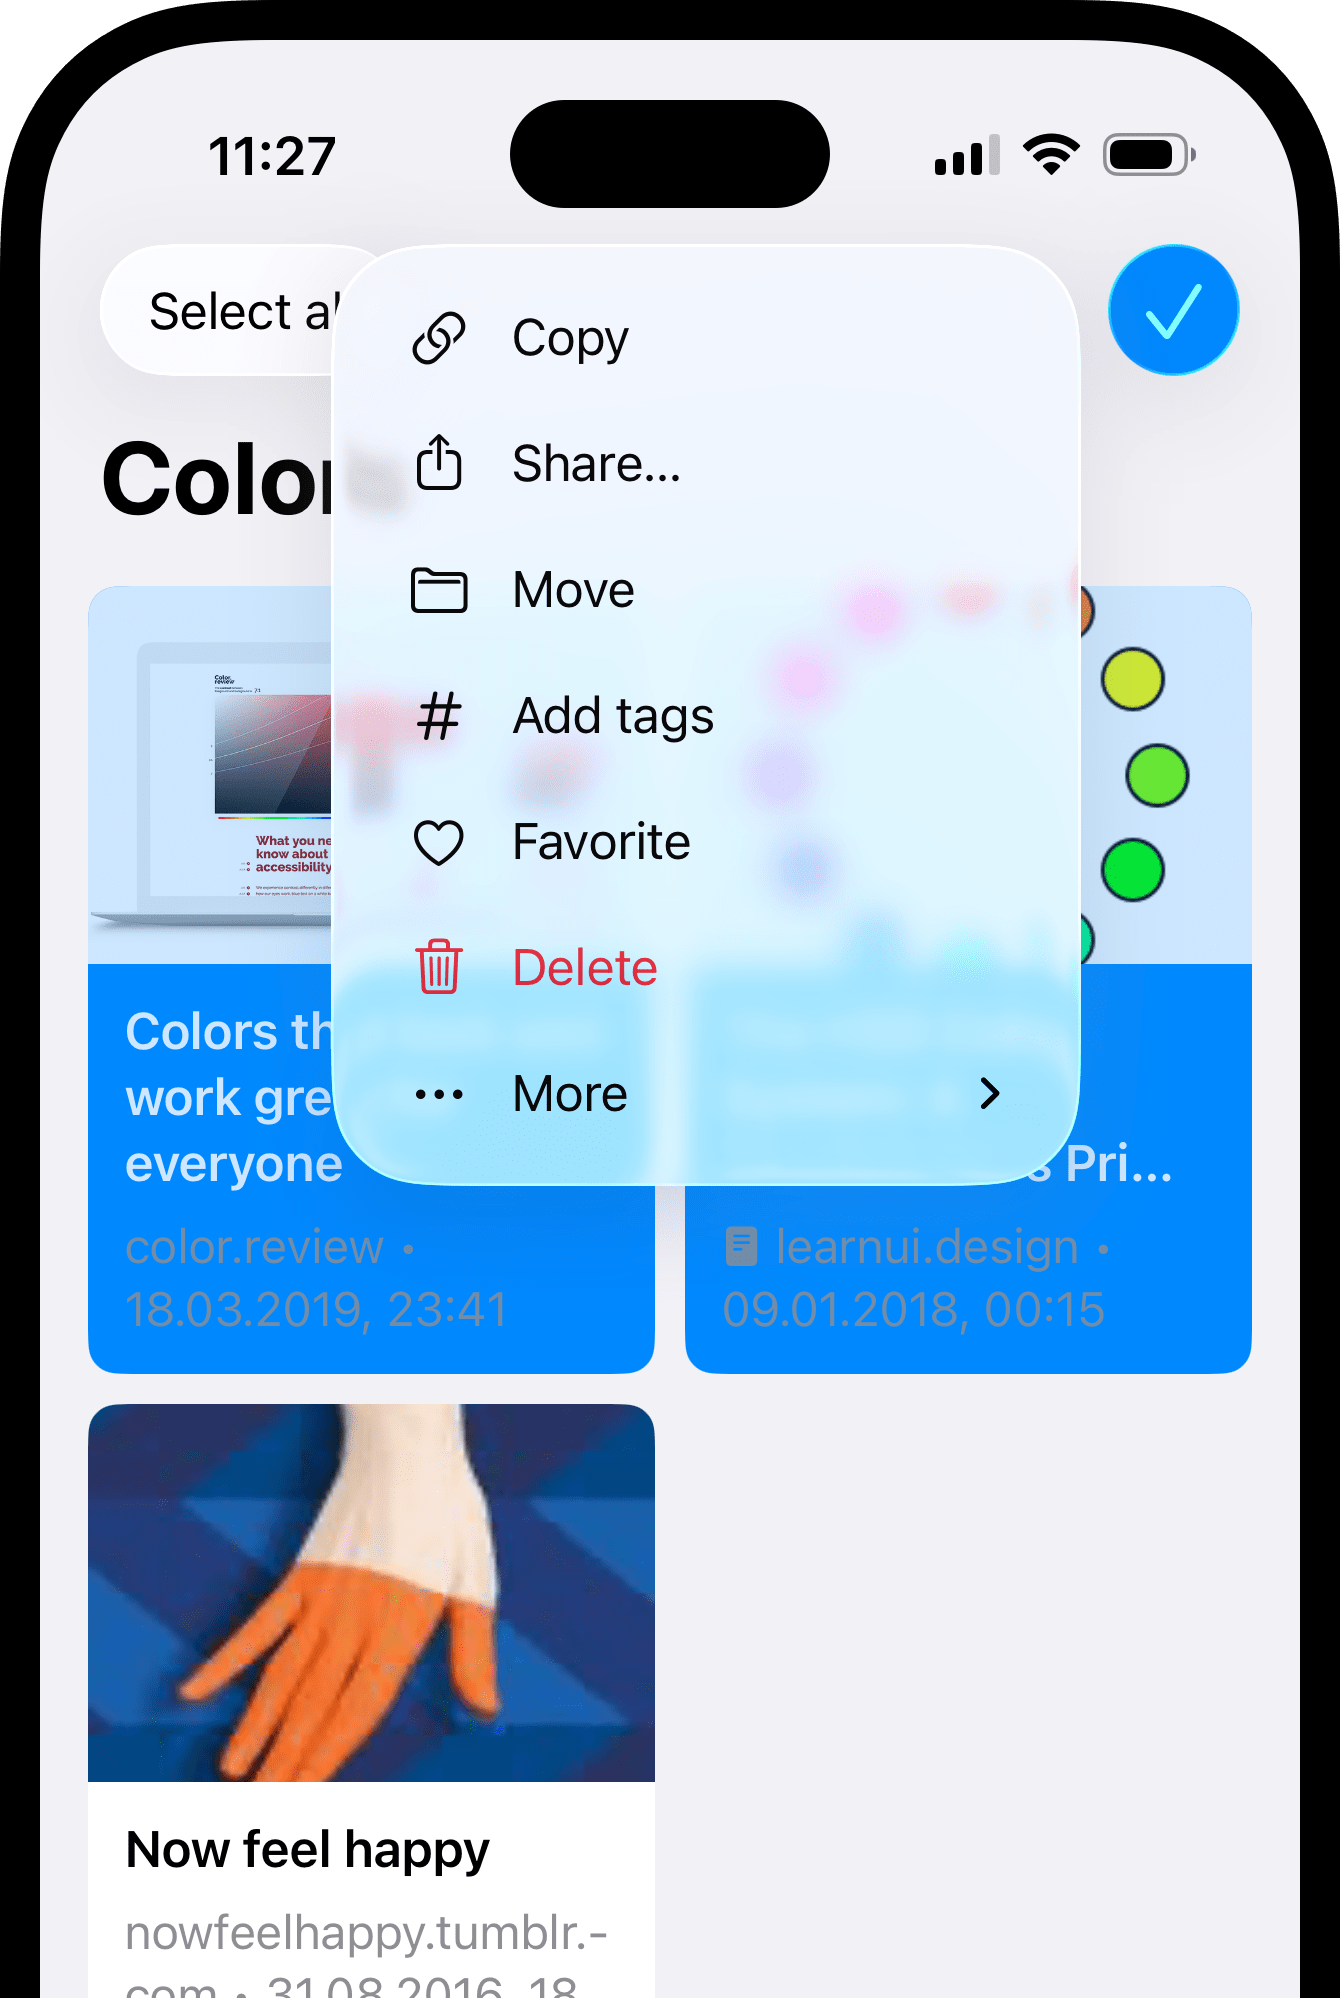
- iOS
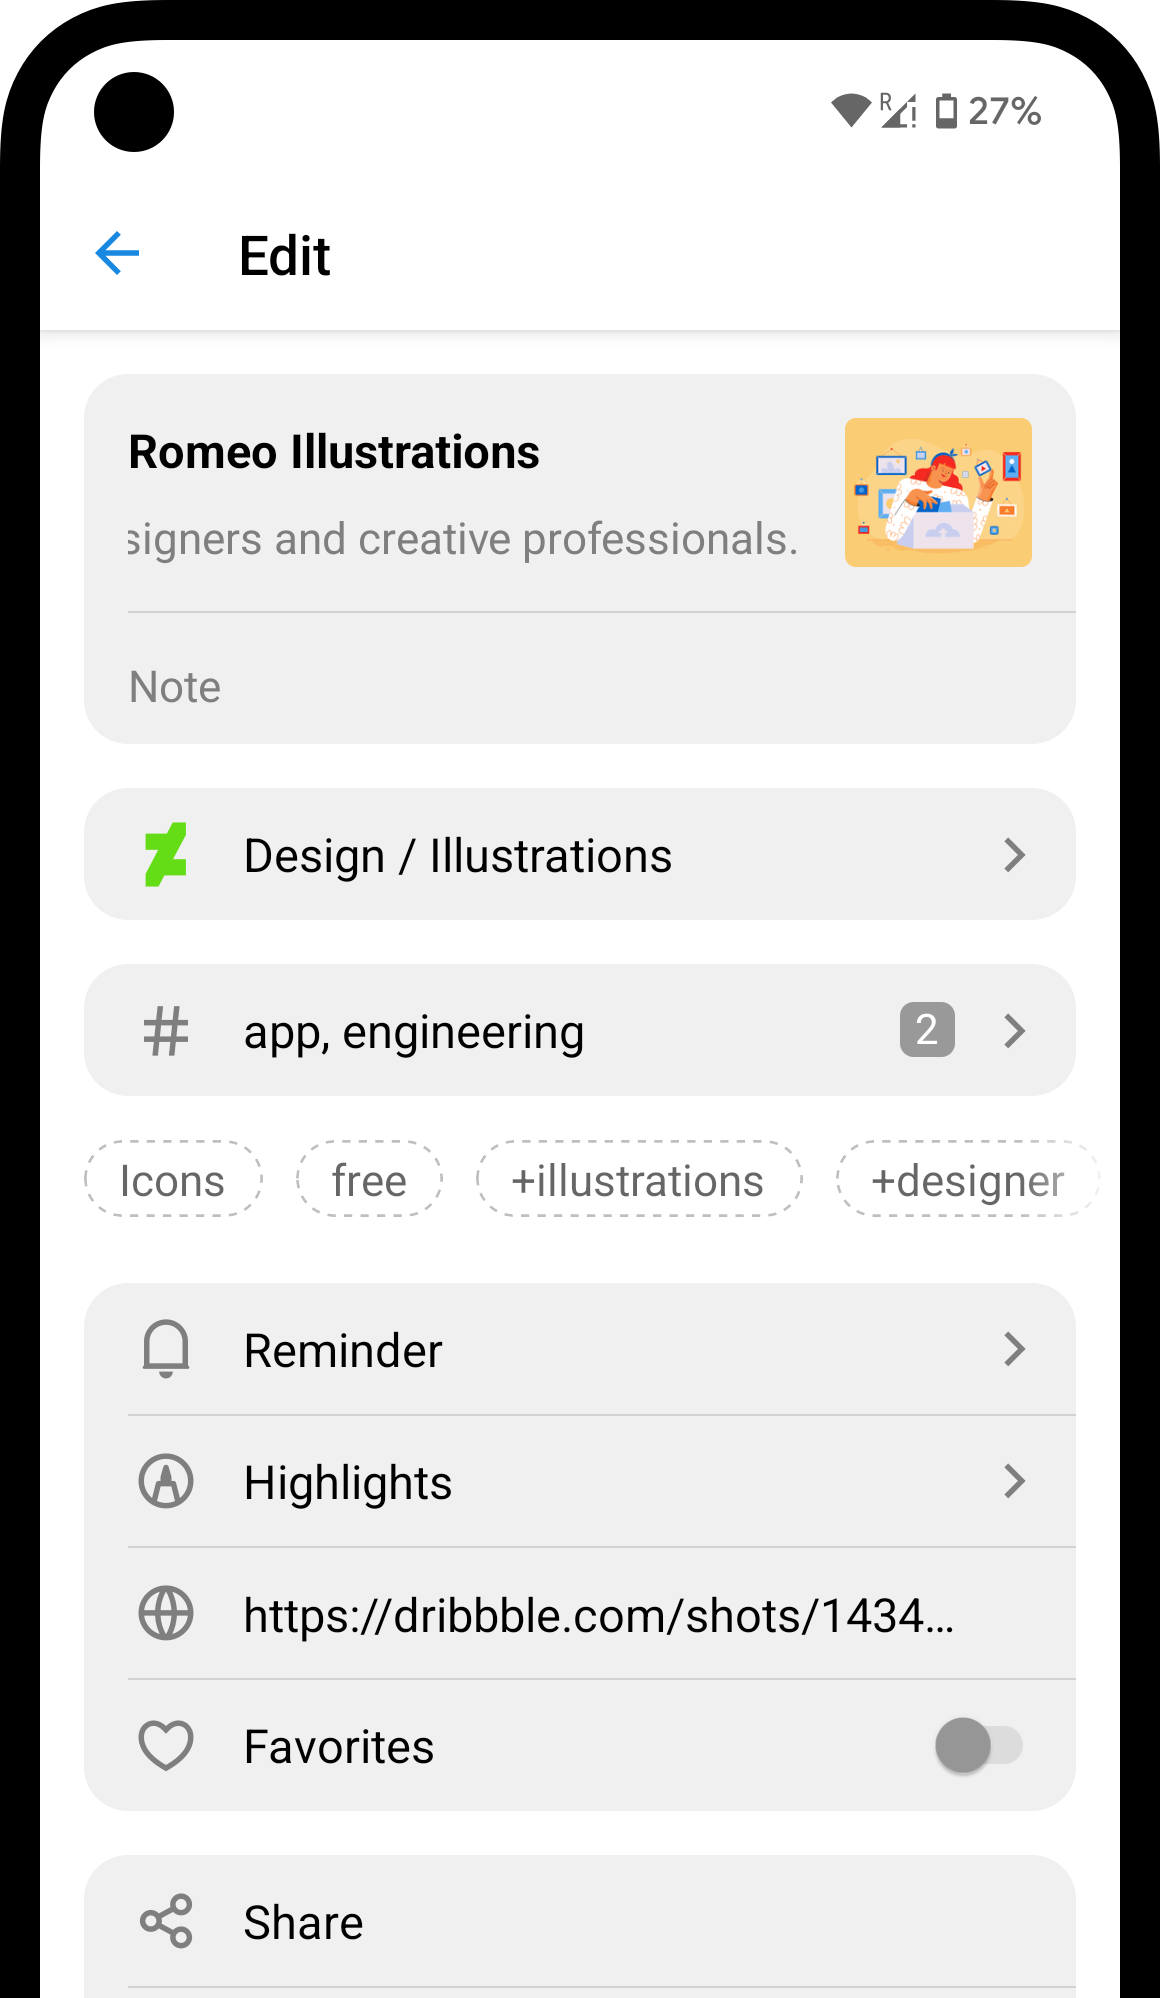
- Android

Grouping and ordering
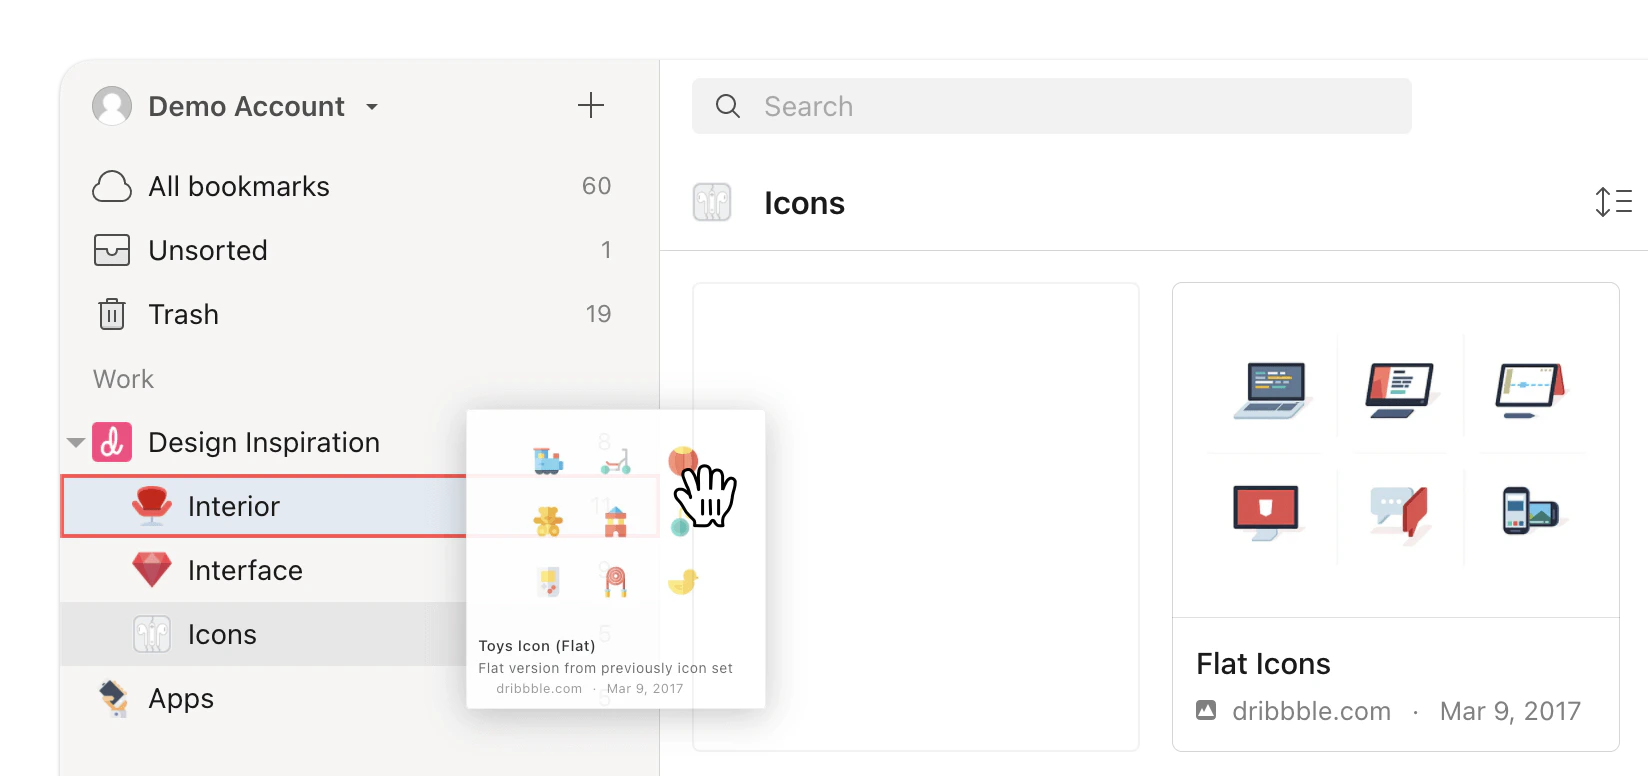
Once you have more than a handful of collections, you’ll want to keep them organized too. Collections support nesting, reordering, and collapsing.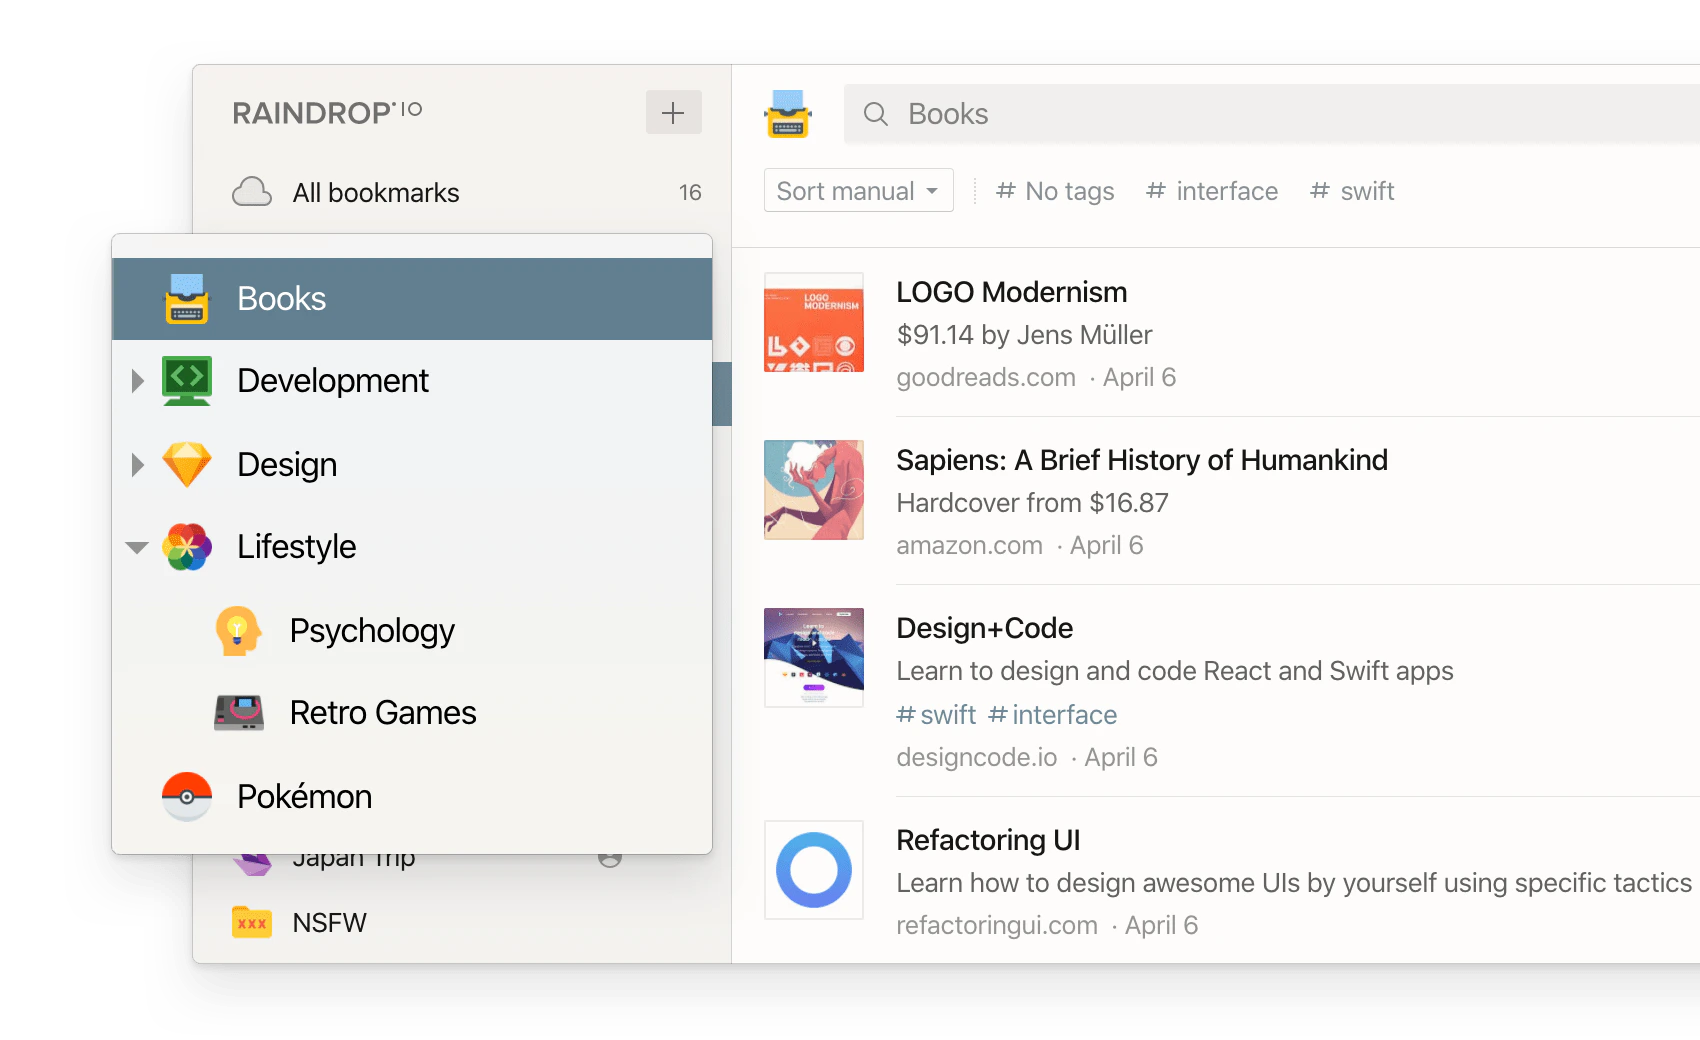
- Web & Desktop
- iOS
- Android
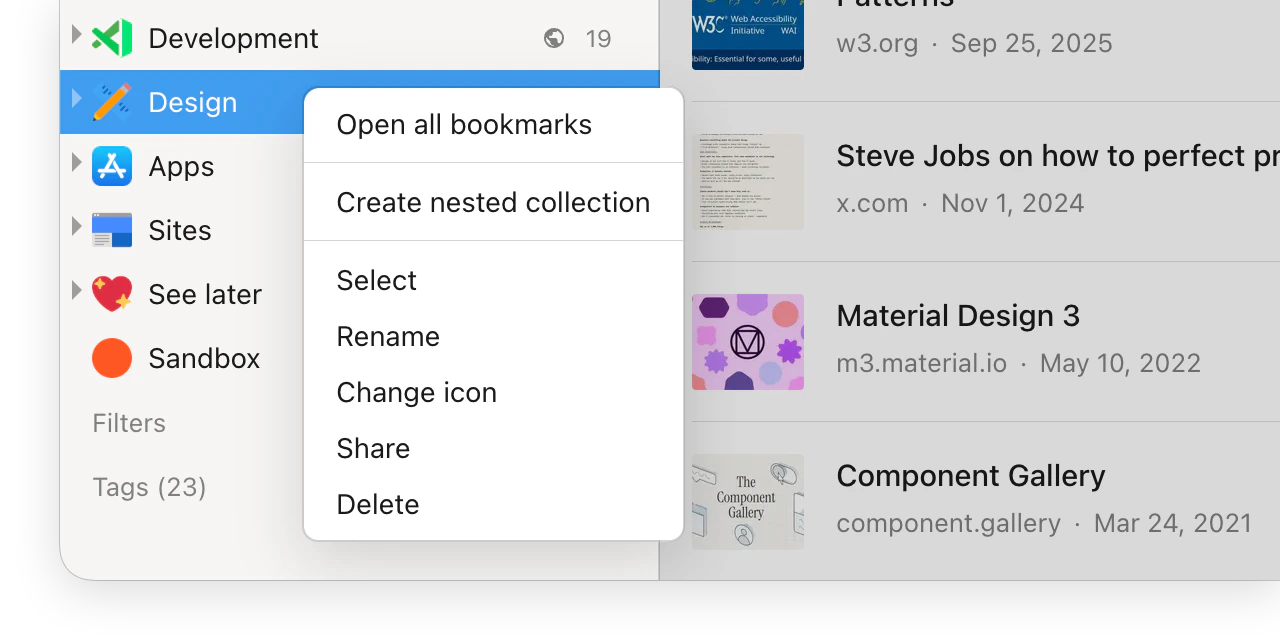
To nest, drag a collection onto another — it becomes a child.You can also right-click any collection and choose Create nested collection. To un-nest, drag it back into empty space in the sidebar.
Finding a collection
- Web & Desktop
- iOS
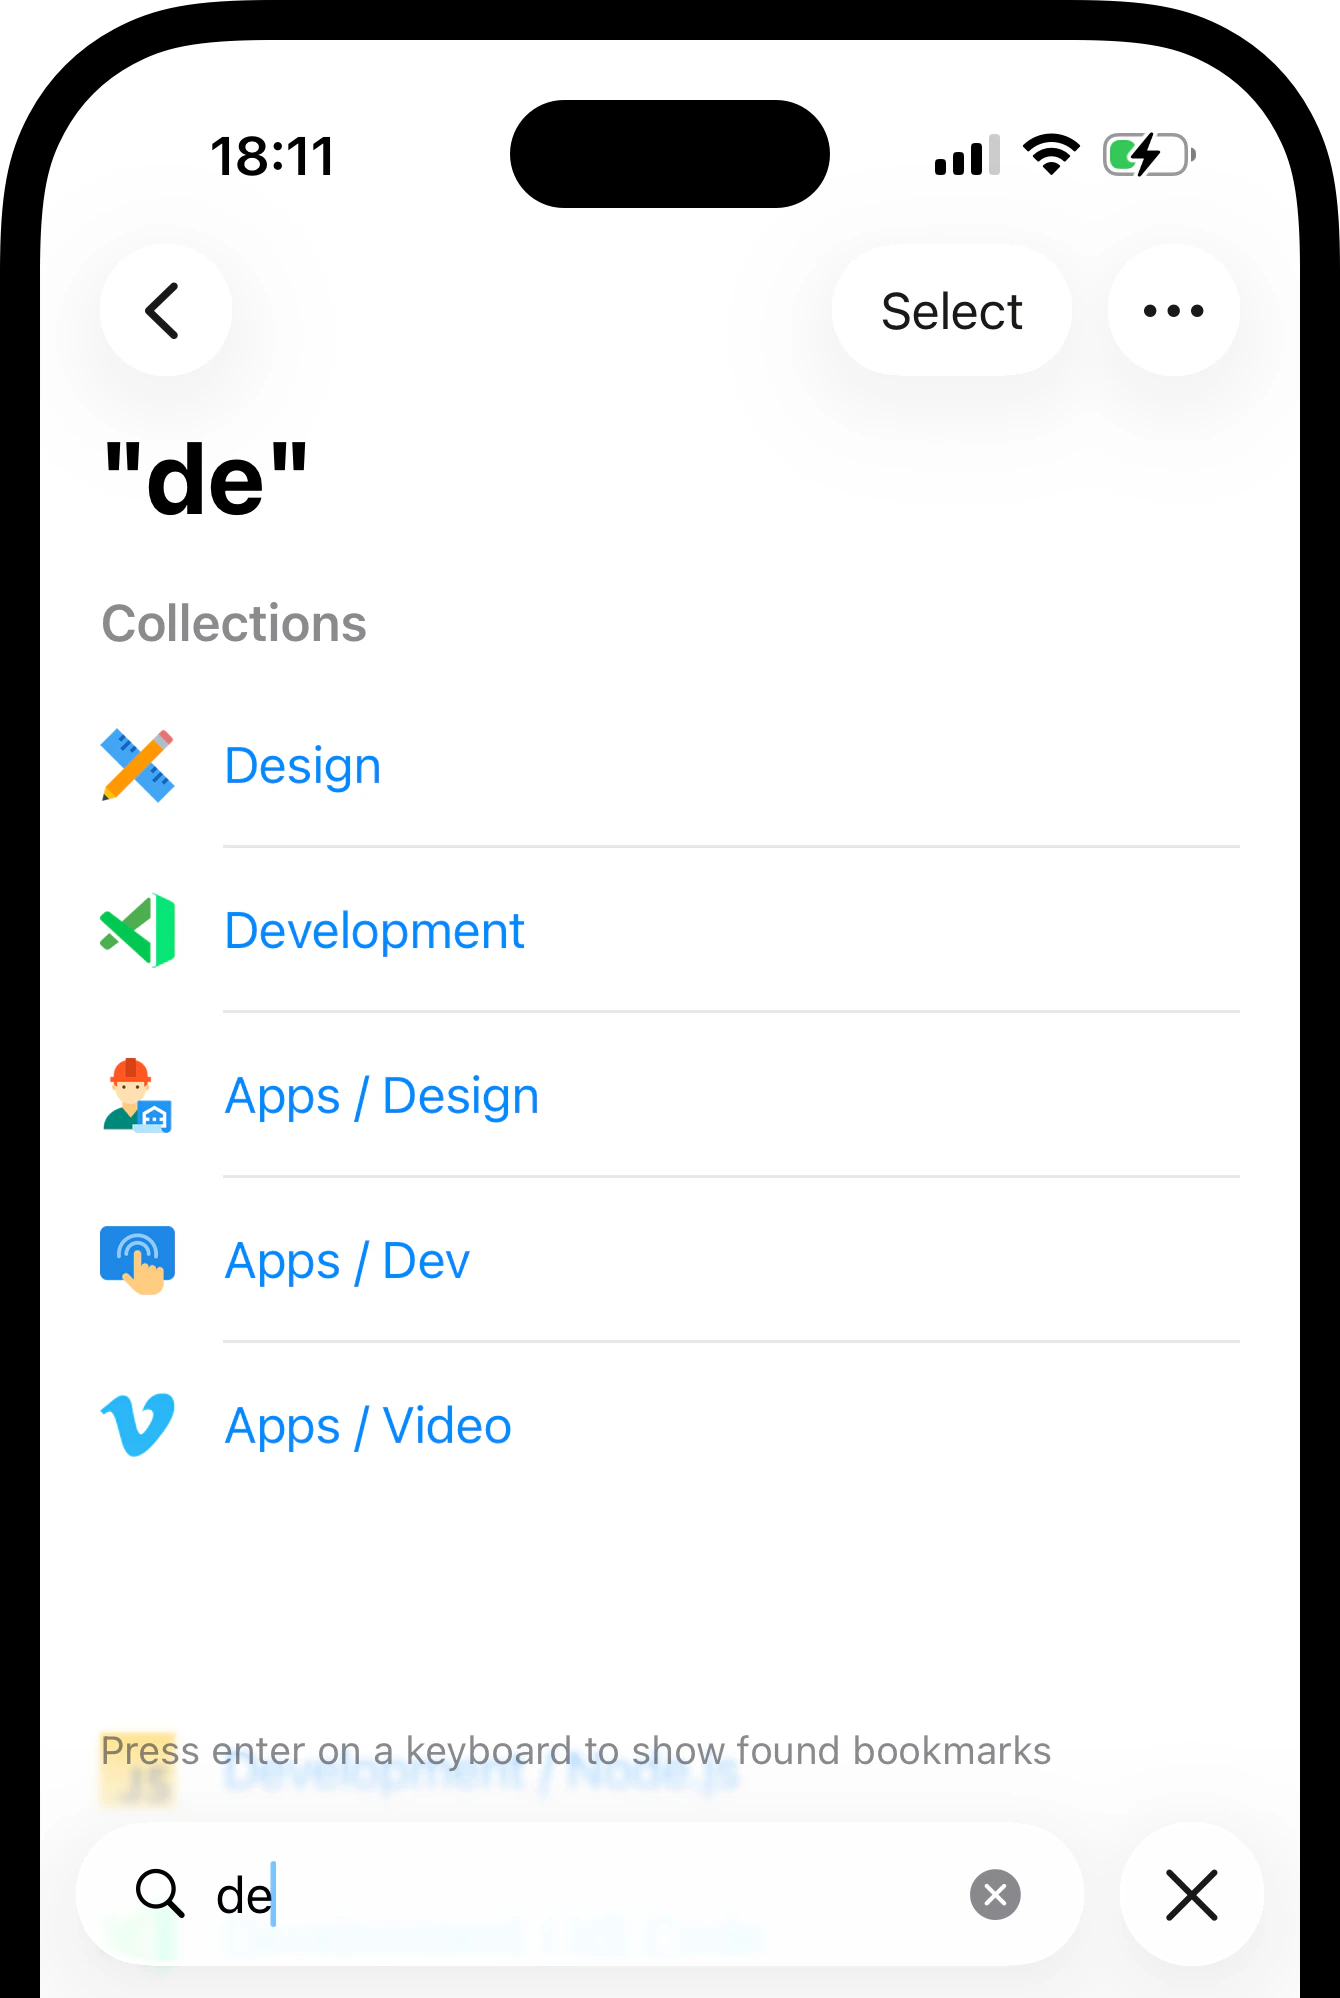
- Android
Type a collection name in the search field and matching collections appear instantly.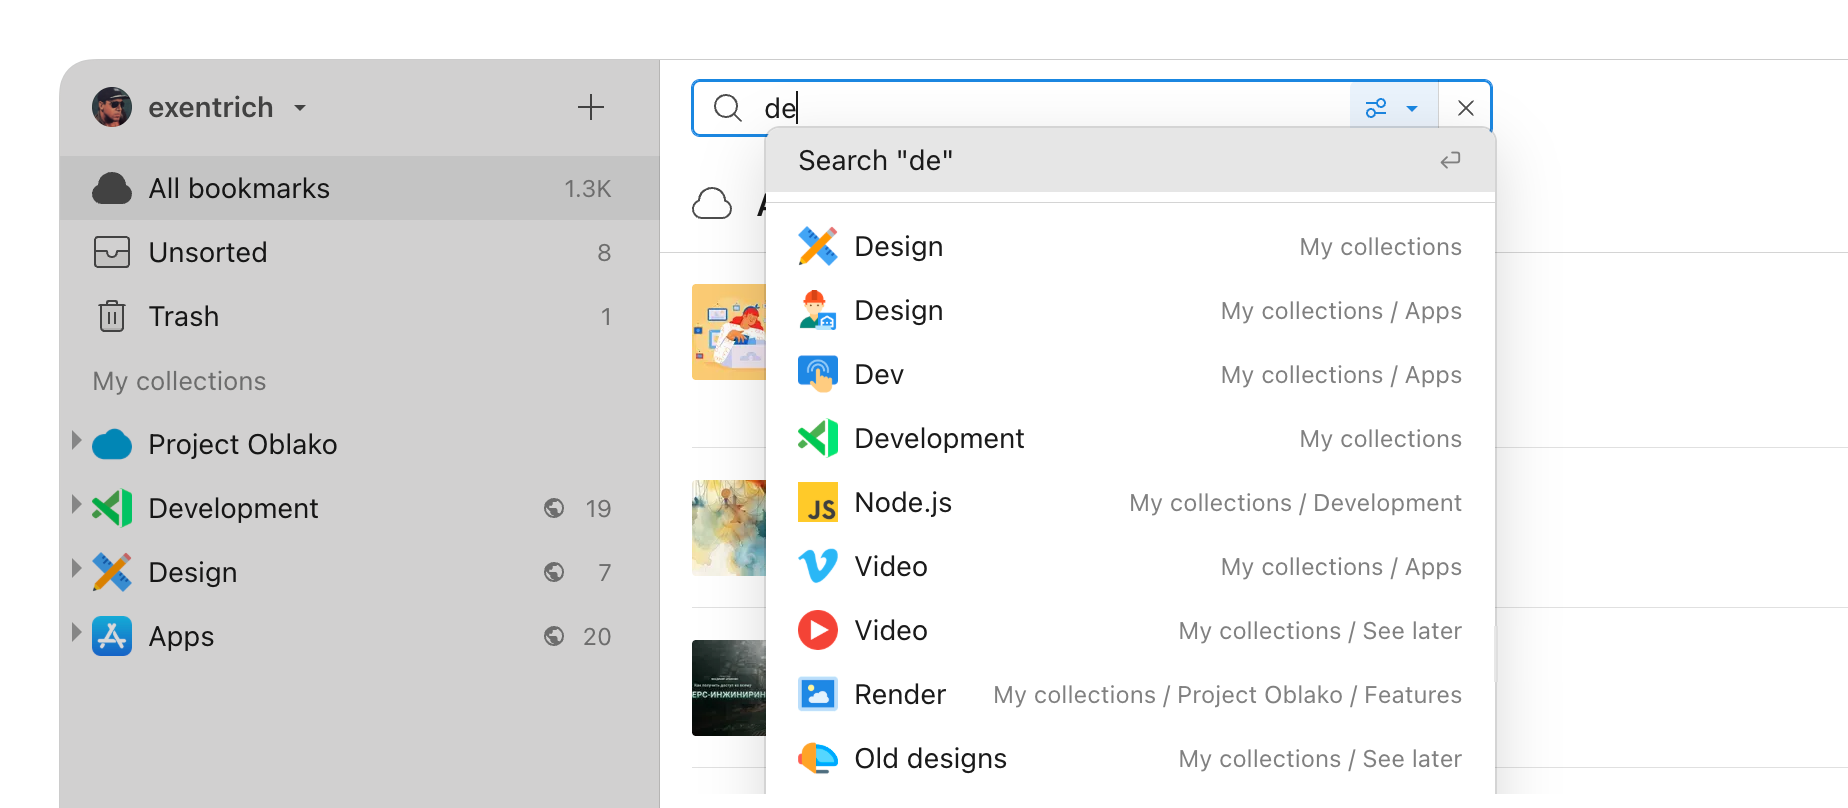
Managing a collection
- Web & Desktop
- iOS
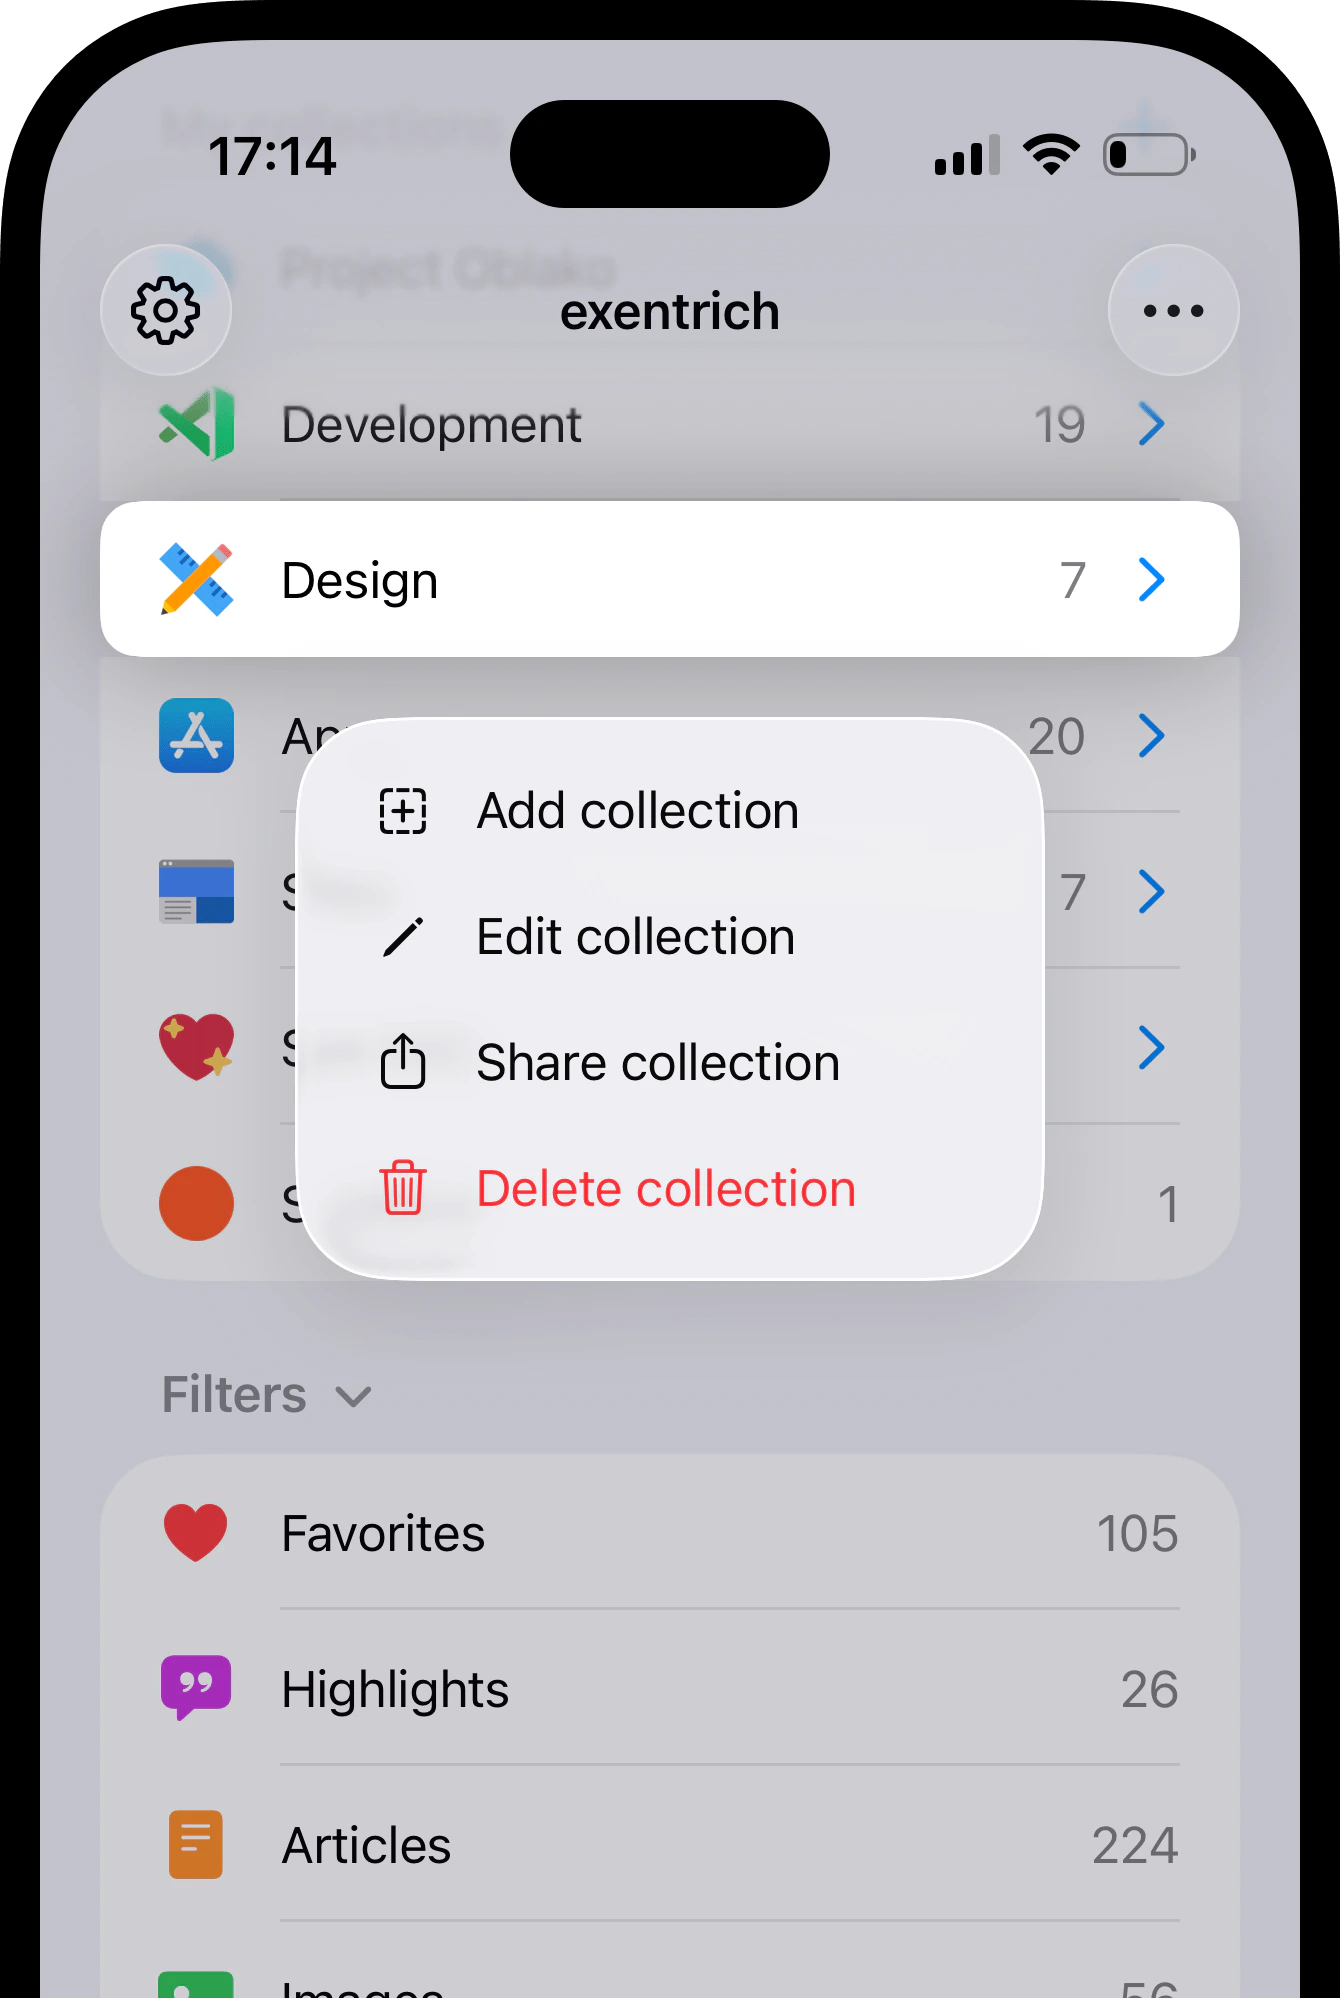
- Android
Change icon — pick a custom icon for the collection.
Delete — bookmarks inside are moved to Trash, not permanently deleted. Deleting a parent also deletes its sub-collections.
Changing collection icon
Every collection gets a default folder icon, but a custom one makes it much easier to spot at a glance.- Web & Desktop
- iOS
- Android
Customizing the view
Bookmarks are displayed as a list by default, but each collection has its own view settings. Switch to a grid or moodboard for visual collections, hide titles or tags — whatever works best for the content.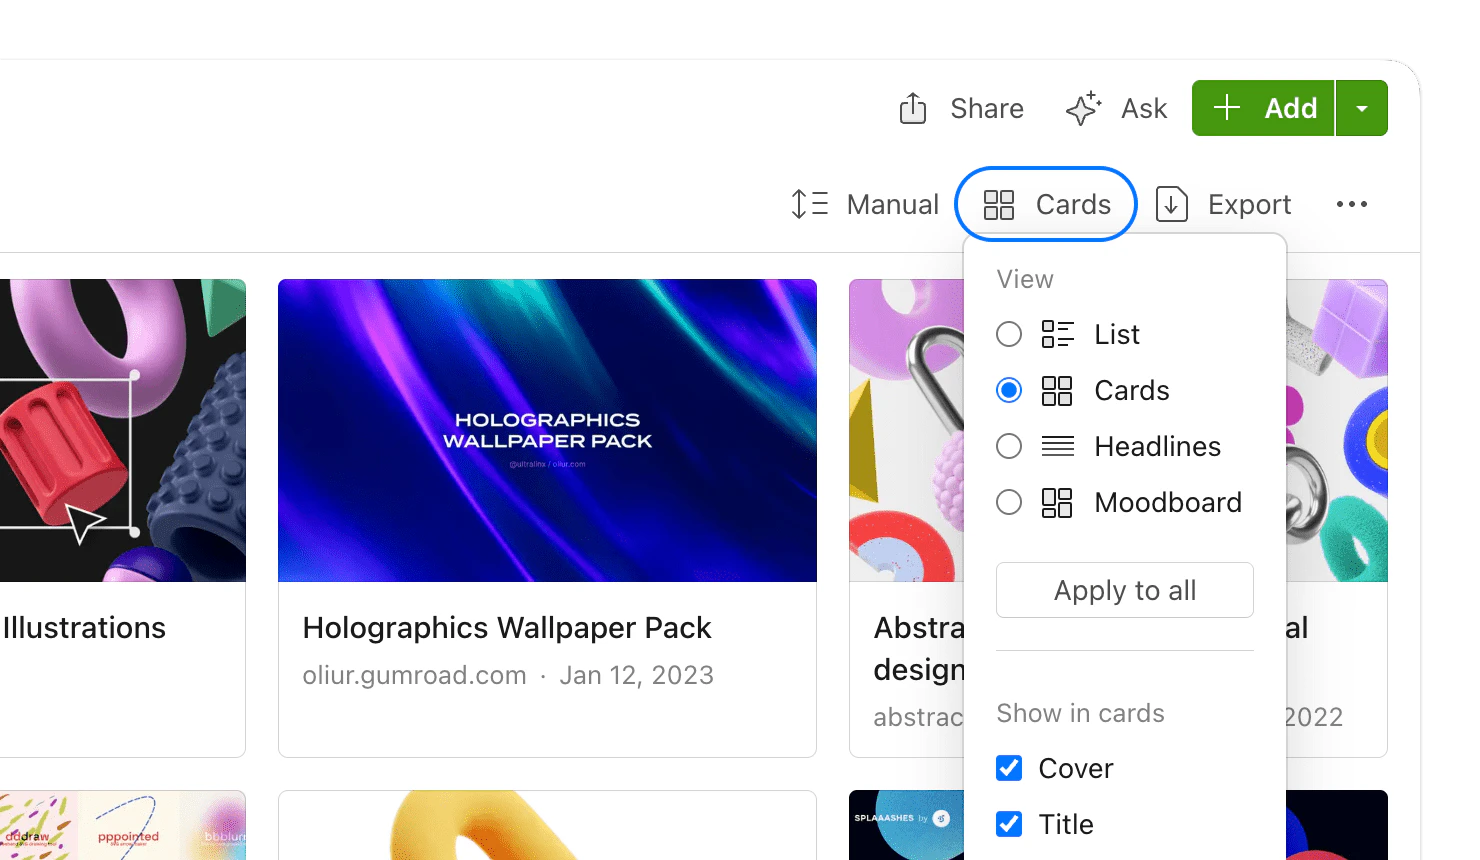
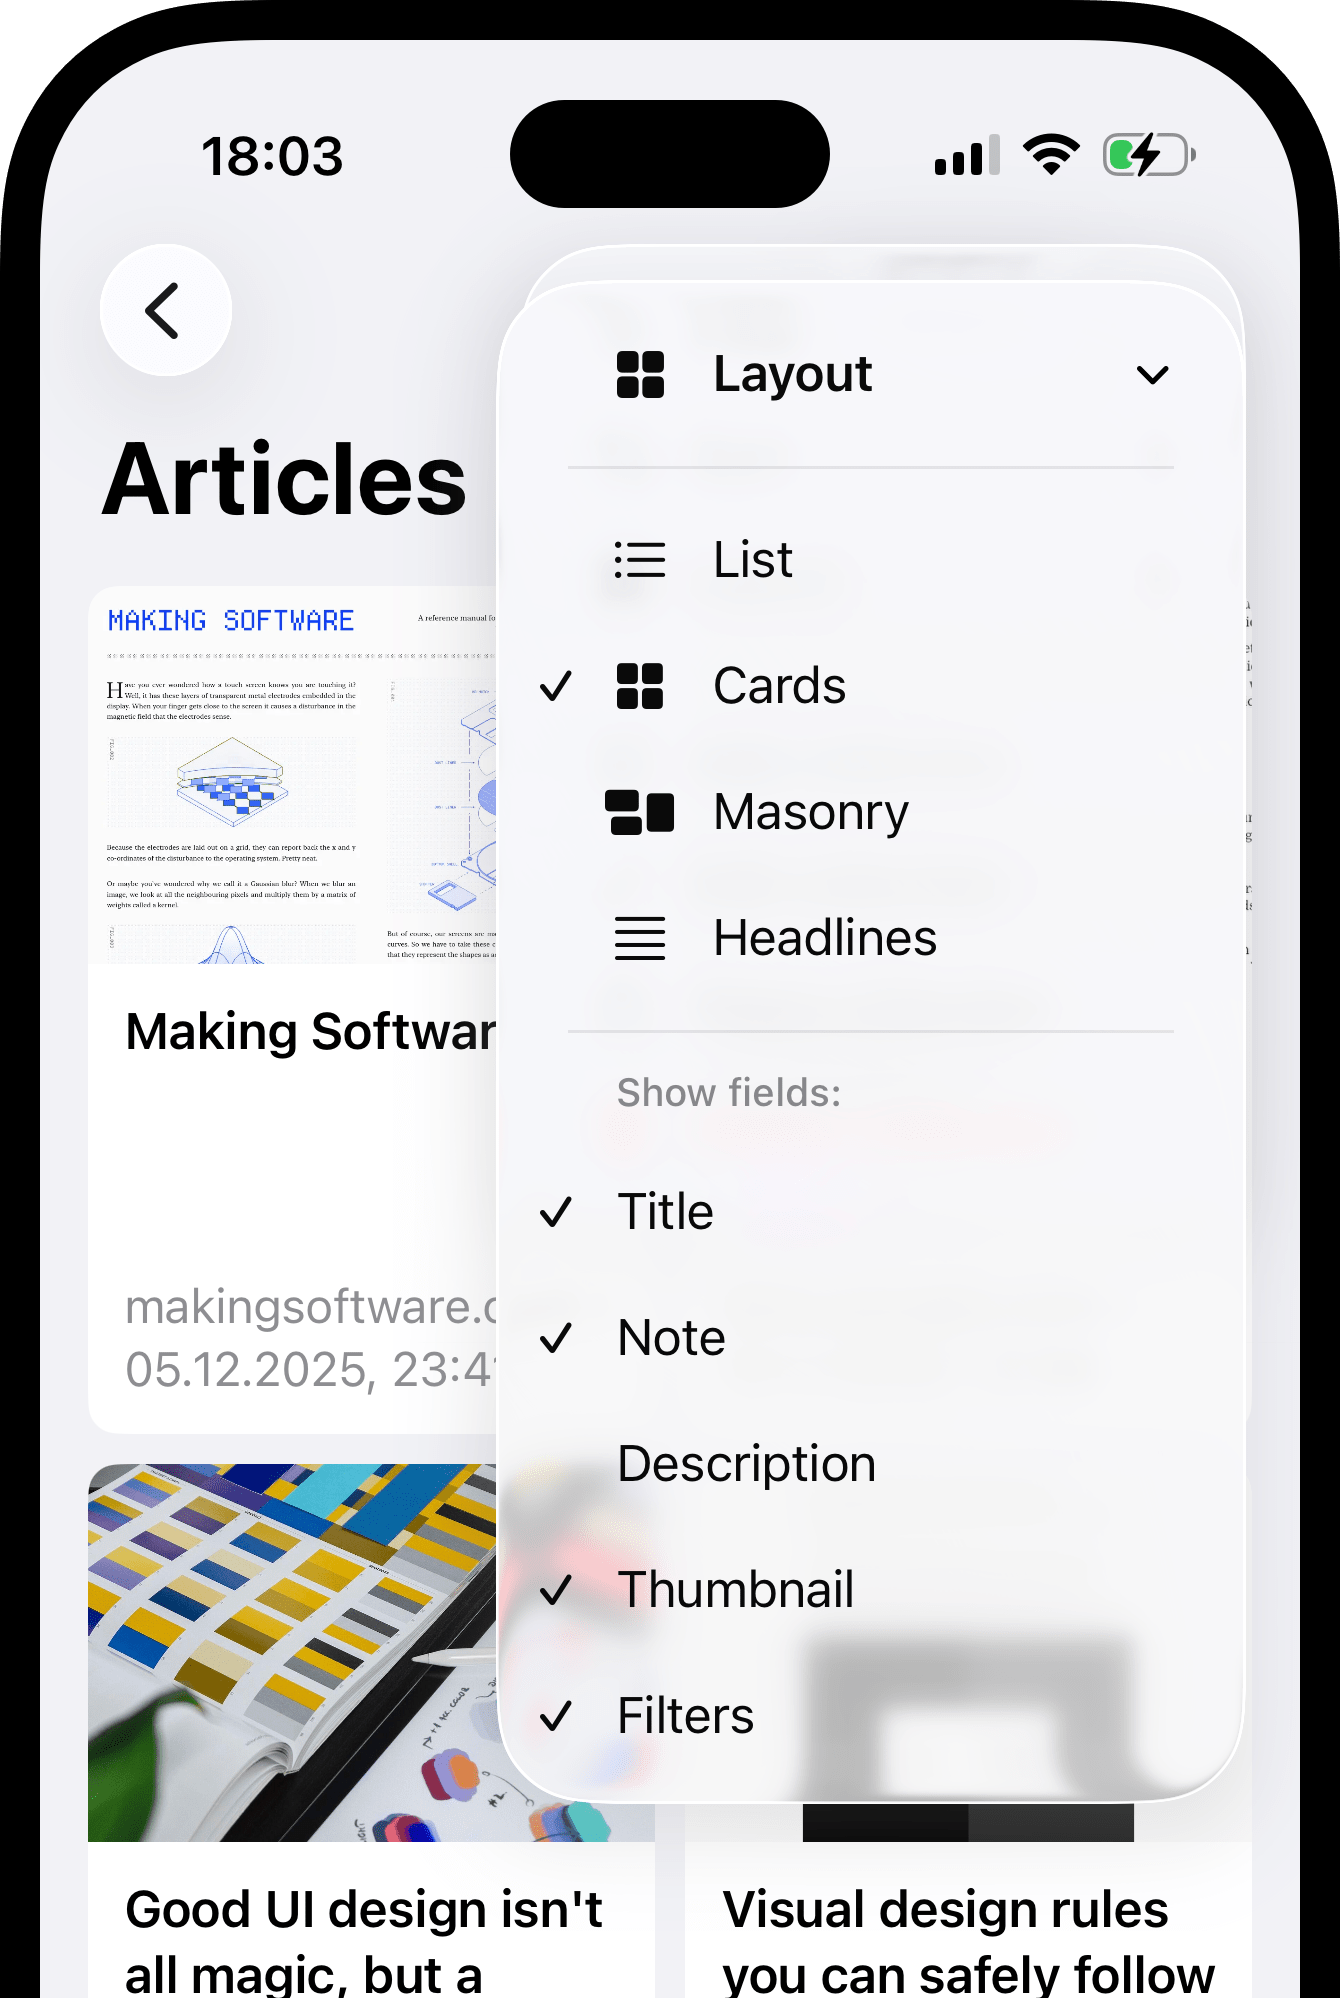
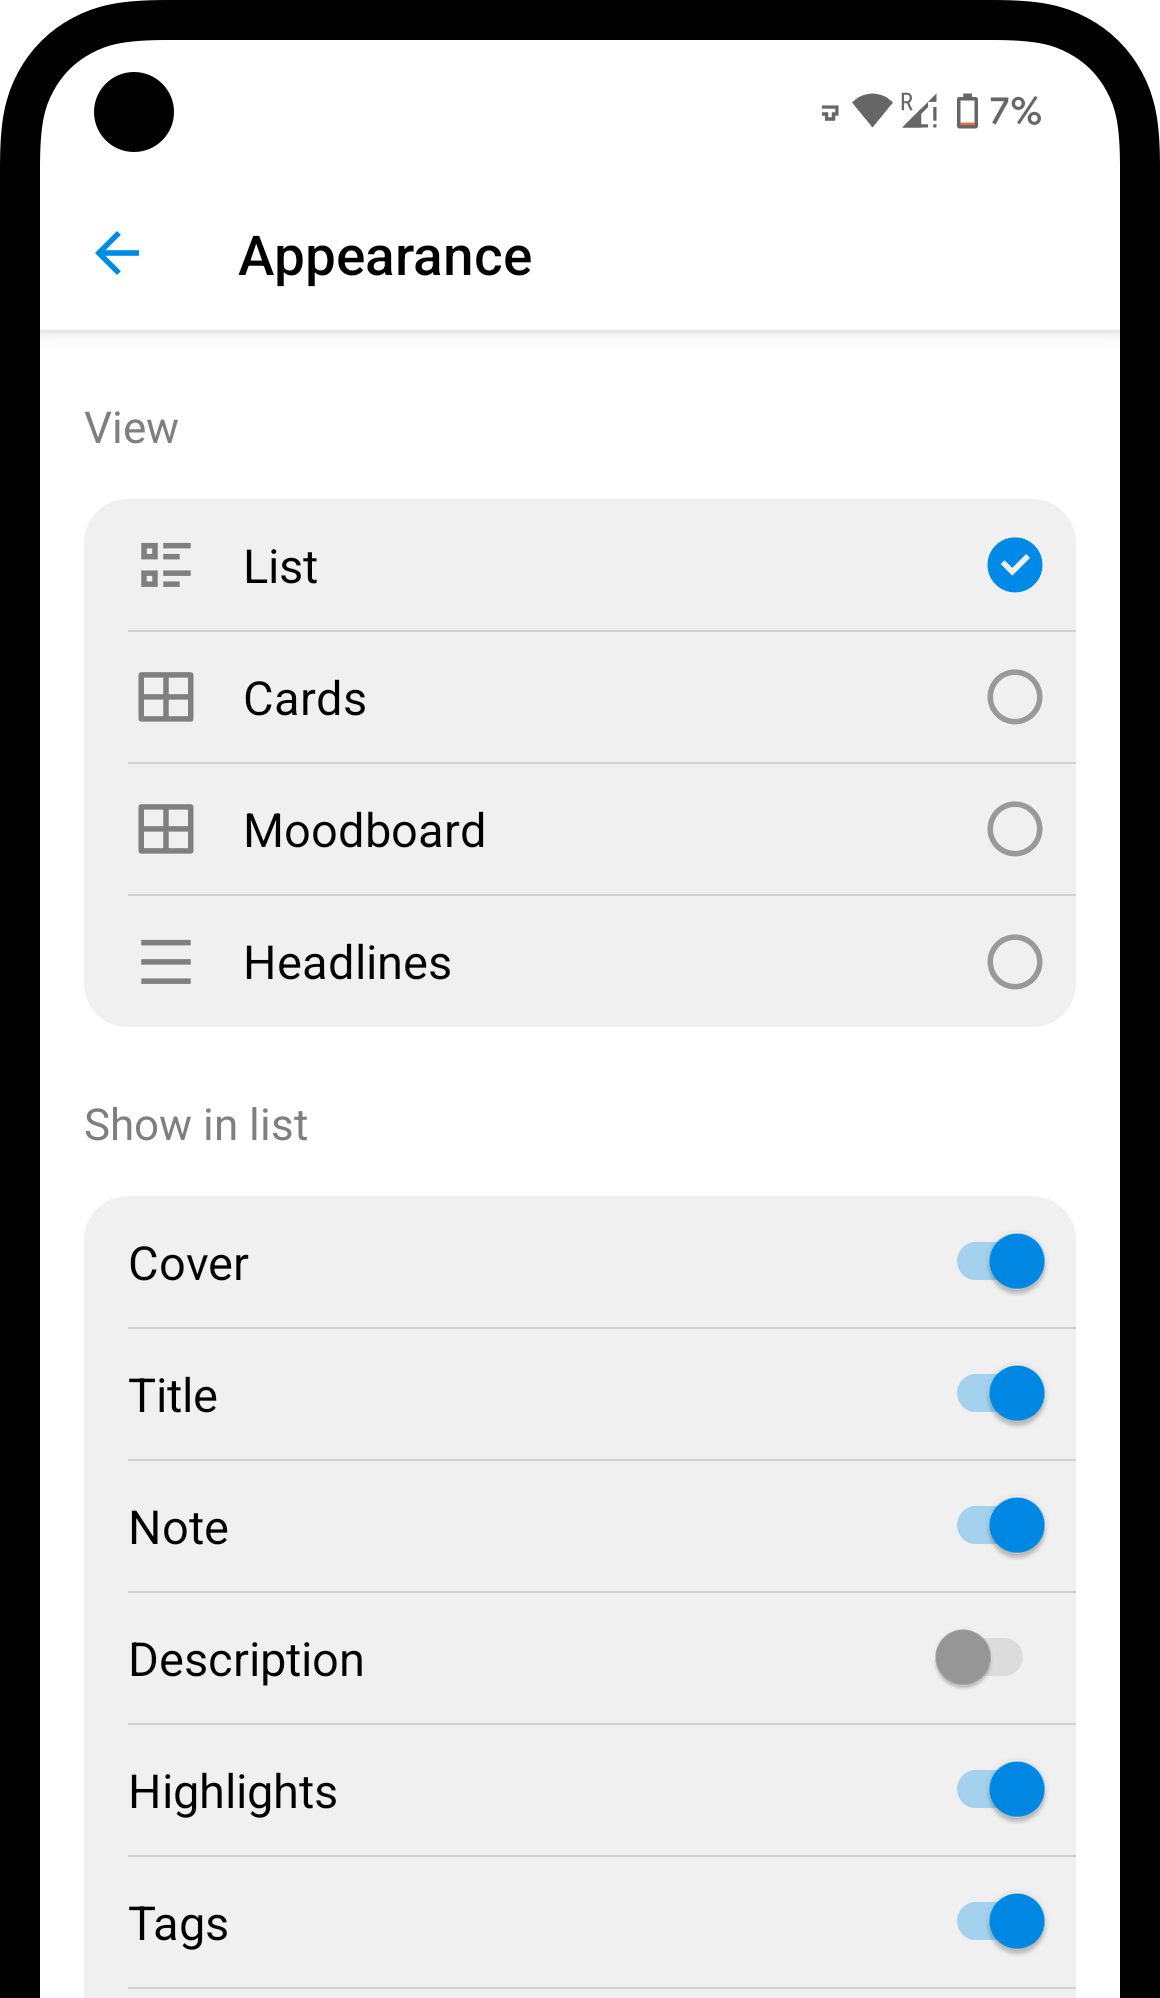
Which layout to choose?
Which layout to choose?
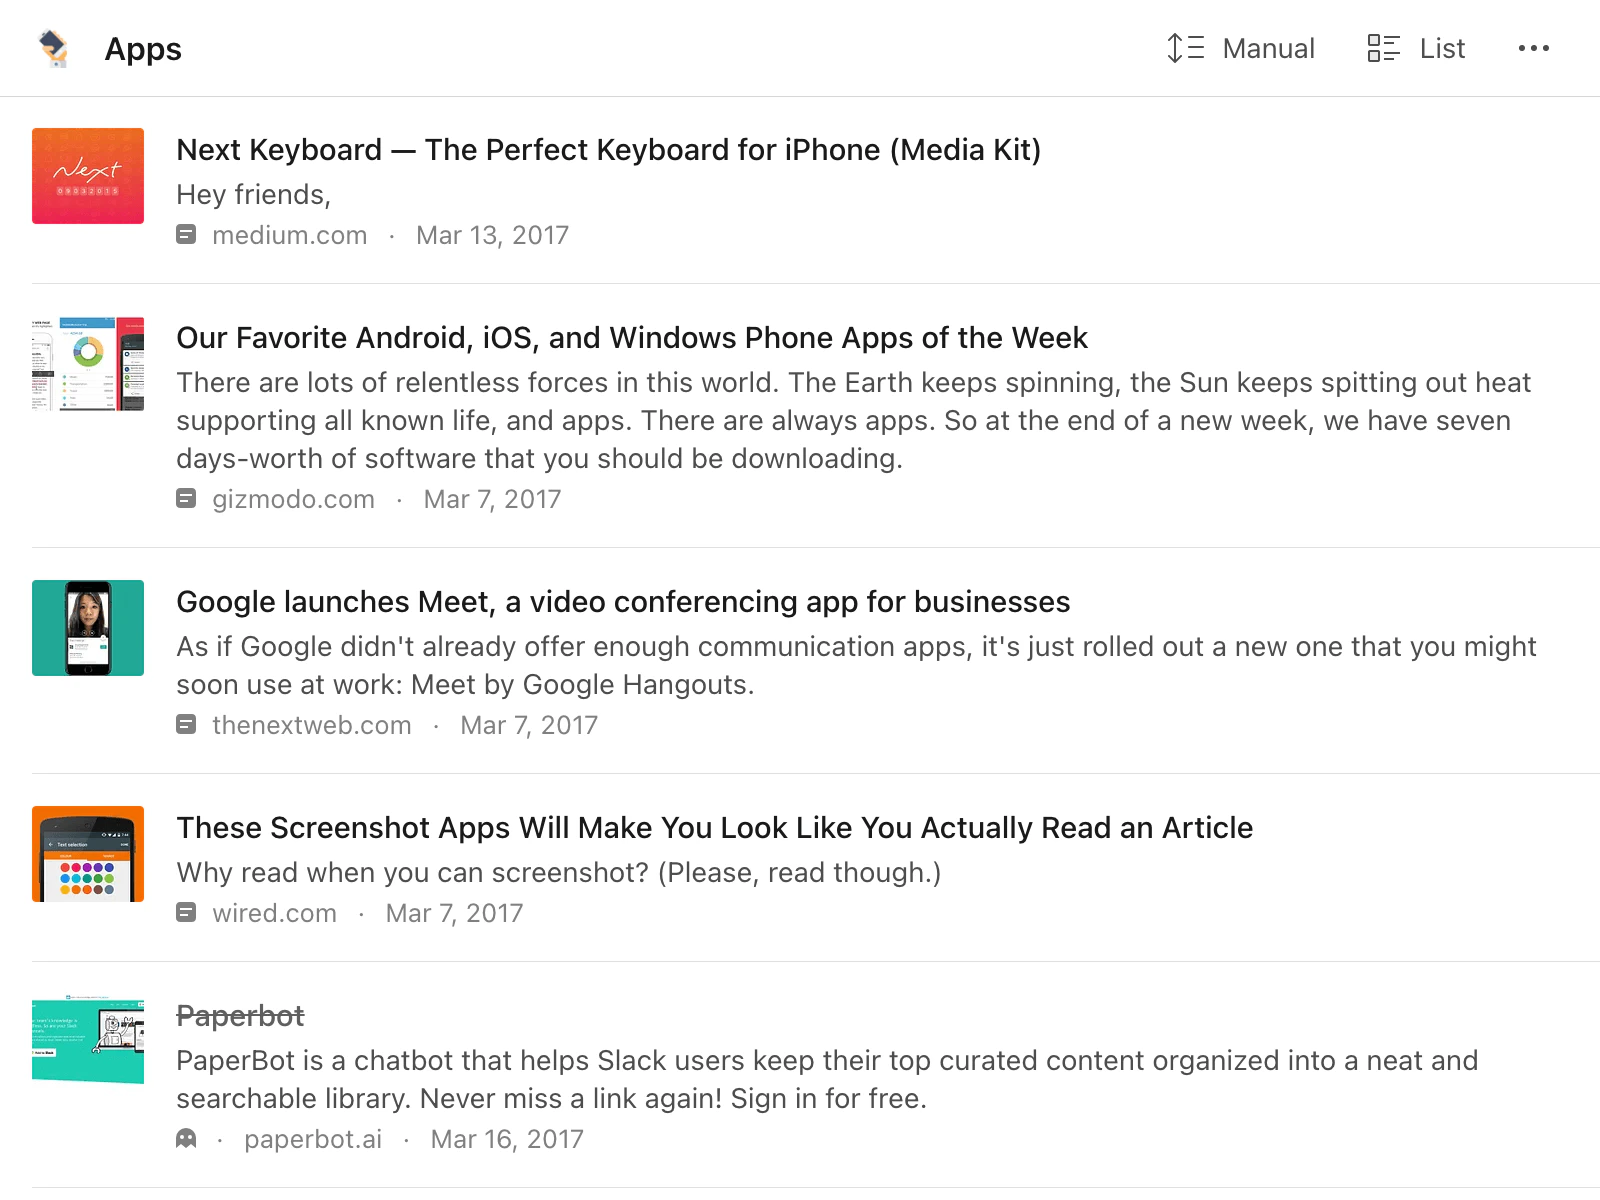
Each bookmark takes a full row — best for alphabetical or date sorting.
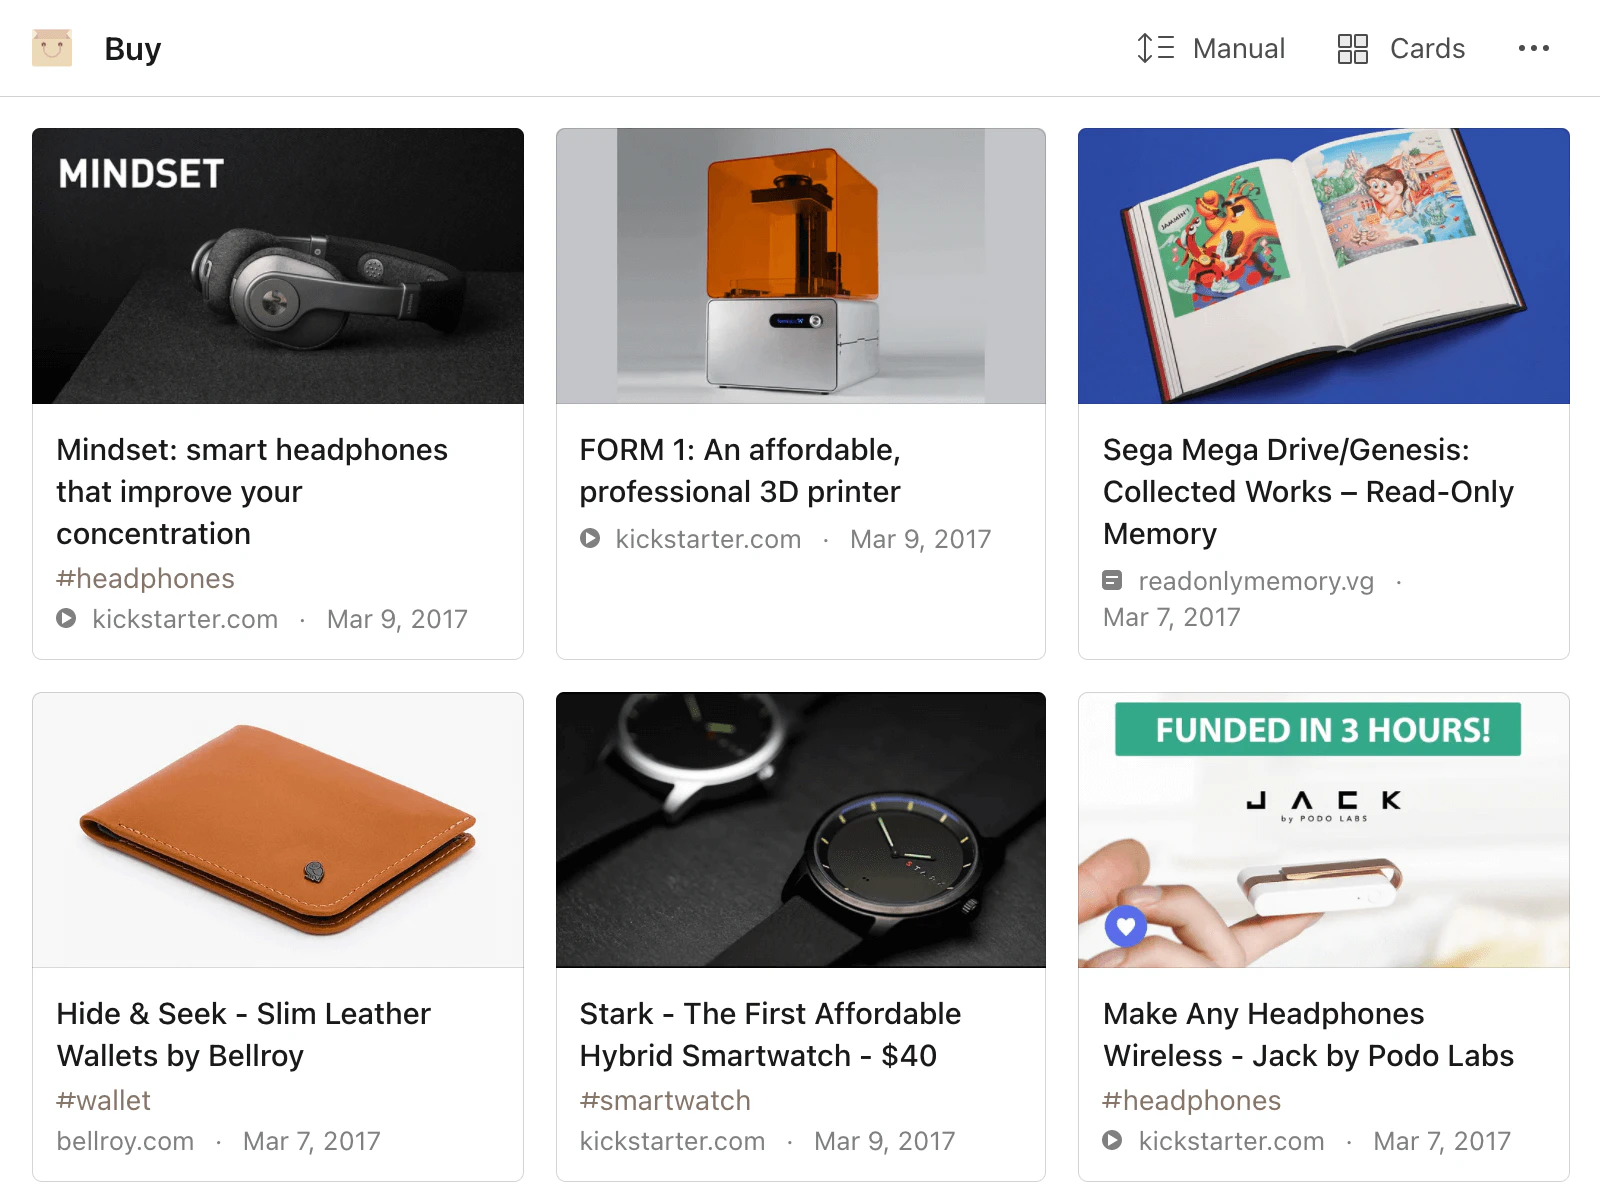
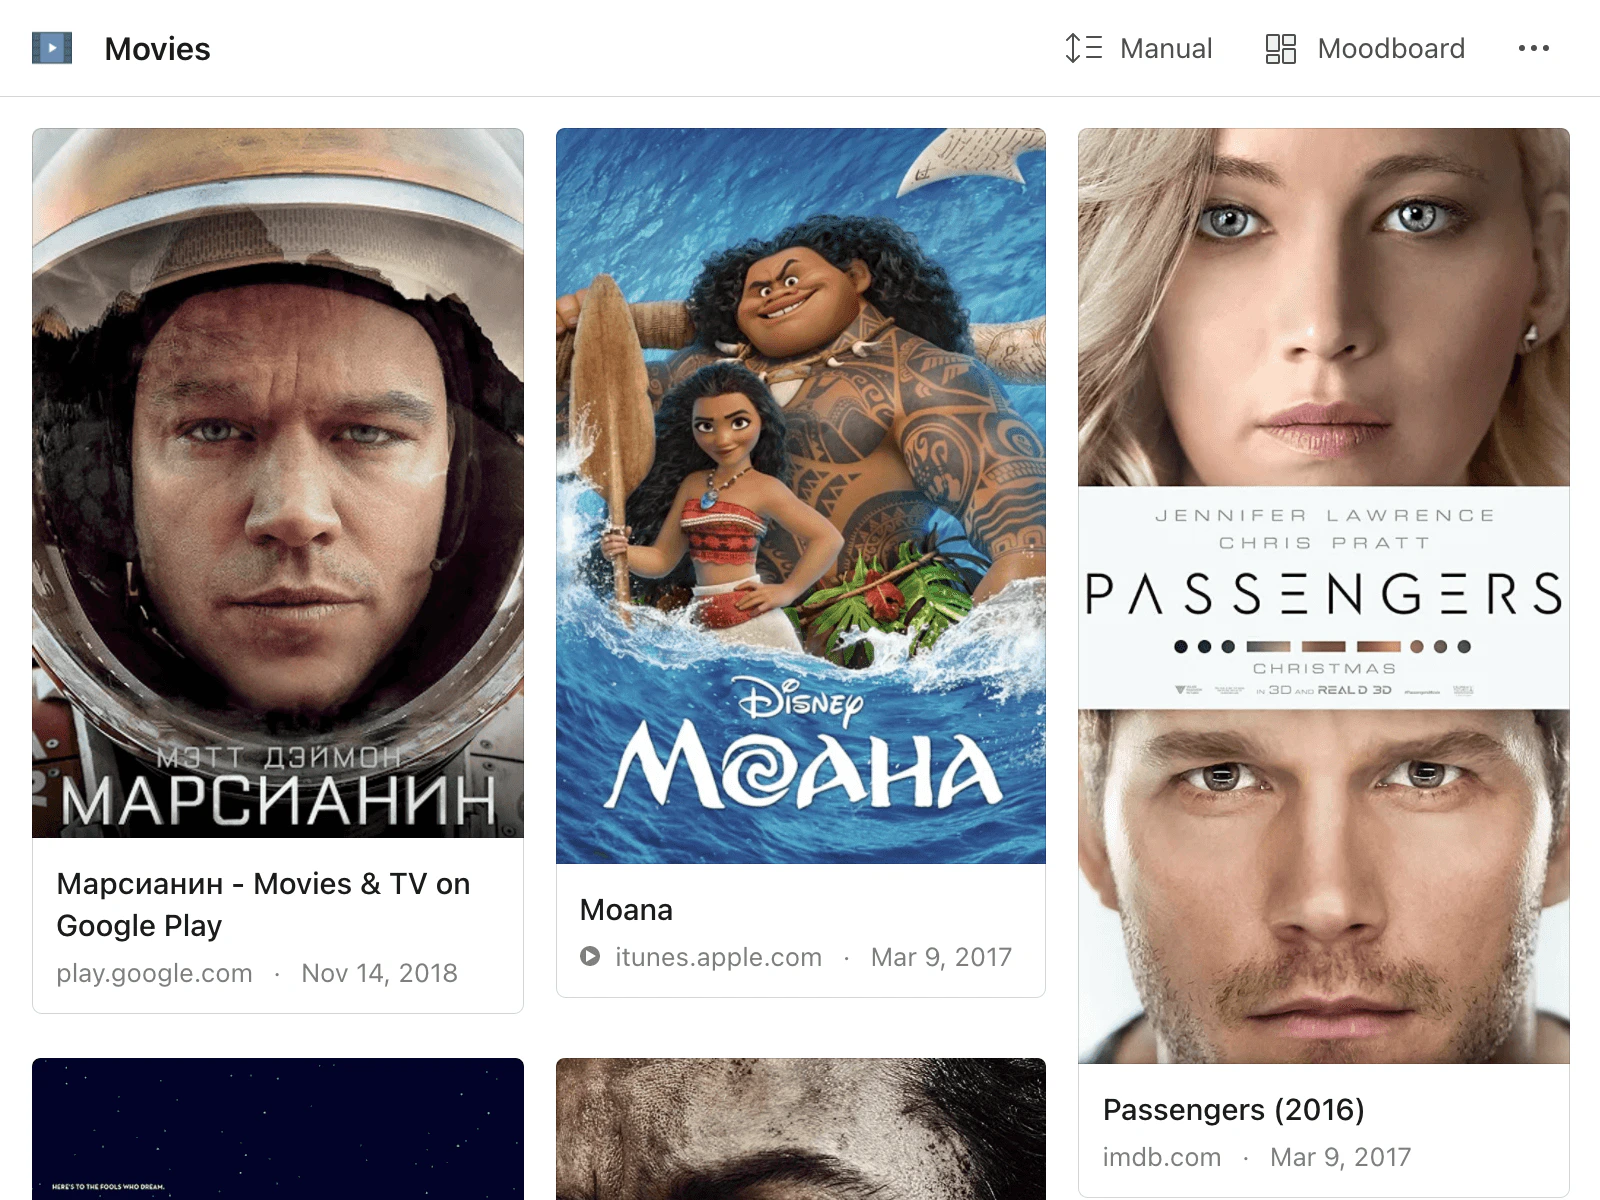
Bookmarks are cropped into uniform squares. Useful for design inspiration or mood boards.

Text-only, no thumbnails. The fastest way to scan a large number of bookmarks.
Variable-height tiles arranged like a mosaic. Works well when visual overview matters more than strict order.
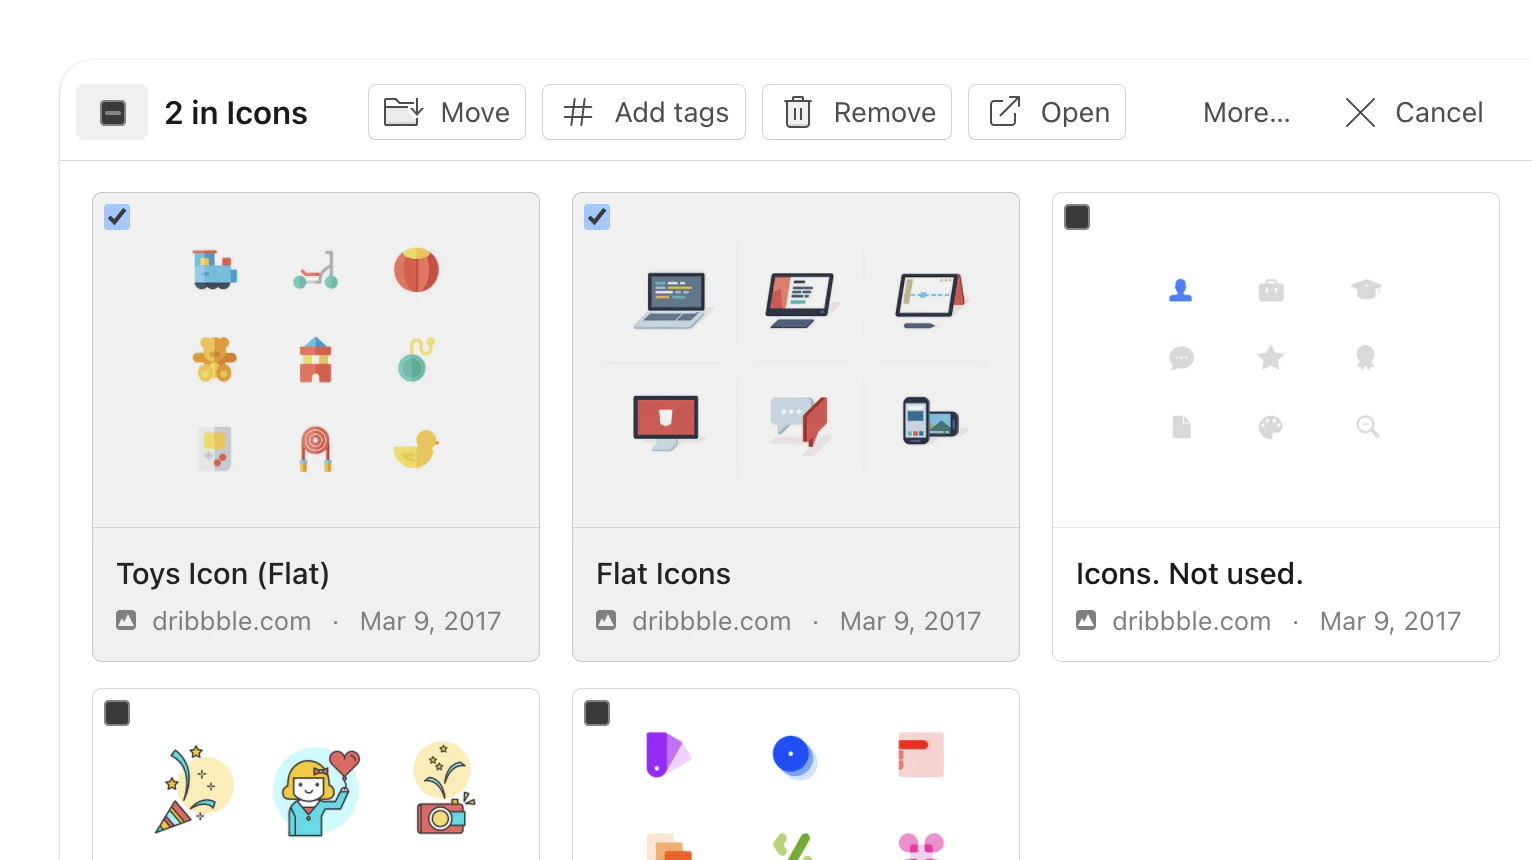
Managing multiple collections
On Web & Desktop, you can select multiple collections to merge or delete them at once.Use the toolbar actions: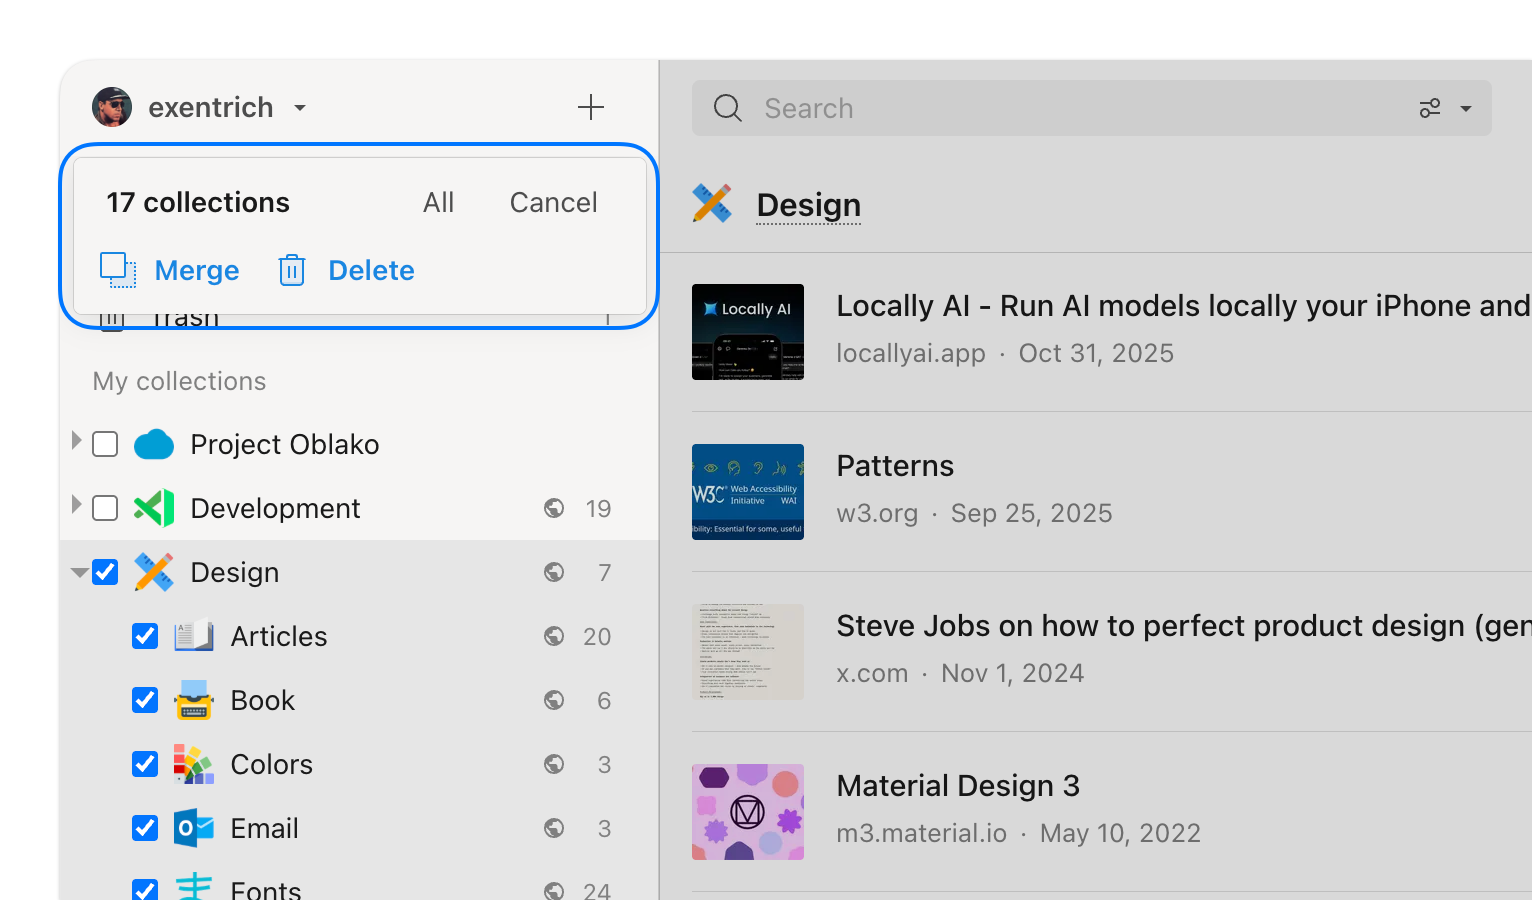
- Merge — combine all selected collections into one. All bookmarks are moved to the target collection.
- Delete — delete all selected collections. Bookmarks inside go to Trash.
FAQ
What happens to bookmarks when I delete a collection?
What happens to bookmarks when I delete a collection?
They are moved to Trash, not permanently deleted. You can restore them from there.
Can I save a bookmark into multiple collections?
Can I save a bookmark into multiple collections?
A bookmark can only live in one collection. To have it in two places, open the target collection, click , paste the URL, and save — this creates a separate copy.
Can I set a default layout for all collections?
Can I set a default layout for all collections?
Yes. Go to Settings → App and change Default layout. New collections will use this layout automatically.
How do I delete all empty collections at once?
How do I delete all empty collections at once?
On Web & Desktop, right-click My collections in the sidebar and choose Delete all empty collections.
Related
Members
Share collections with teammates or friends
Public page
Make a collection accessible to anyone on the web
Export
Download collections as HTML, CSV, or TXT